Belgium. Brunt of jokes on radio 4 comedy programs, Brewer of brilliant beer, and maker of fine chocolates. It’s often grouped in with The Netherlands and Luxembourg as the low countries. It’s easy to think of Belgium as a polder landscape punctuated with abbeys awash with beer. Tell someone you’re setting out to cycle to the highest point of the country, it doesn’t immediately come across as a particularly big challenge. Point out that the highest point is 694m above sea level, and you start to get some amusing reactions.
In summer 2015 I set out on my Brompton to cycle from Wiltz (Lu) to Aachen(De) via the highest point of all three of the low countries, Kneiff (559.8m), Signal de Botrange (694 m), and Vaalserberg (322.7 m). I made it to the top of Knieff, before aborting due to the heat. I wasn’t happy about aborting, tho I know in my heart that it was the right decision. As soon as I got home I started planning a second attempt. I’d done Knieff, so there was no point trying that bit again. I opened the map of the Hoge Venen, the area in which Signal de Botrange is found, and started to plan.
The borders of Belgium allow for some creative cartography. Exclave and counter exclave in the area of Baarle-Hertog provides an interesting diversion. But as I stared at the map, what caught my eye was a strange border marking through the middle of Germany. I switched from the paper map to opencyclemap. What was marked as a border on my paper map, showed up as a cycle path on OCM. I googled the cycle path.
Opened in 1885, the Vennbahn railway ran from Aachen to Trois-Ponts. In 1919 as part of the Treaty of Versailles, the line was given to Belgium. Creating in the process, exclaves of German territory within Belgium. With the closure of the railway, this line was turned into a cycle route. A cycle route that ran from Aachen to just south of Signal de Botrange, and did so with a maximum gradient of 2%. A plan formed. I could ride from Aachen along the vennrad to Sour Brot, where I could hang a right for the final ascent up to Botrange, then it’s just a simple down hill all the way to the Netherlands, via a bit of Germany and Belgium, and maybe the curiosity that is Moresnet.
And so on a somewhat grey but cool day in October I set of from a youth hostel next to Aachen Hauptbahnhof, and followed my GPS through the city streets of in search of a strip of Belgium.
The first few kilometres of the ride took me through rather unscenic suburbs of Aachen, before eventually I left the industry and houses behind and entered farmland.

The day had started quite chilly, and I had worn both my wind proof and fleece to begin with, but as I got into the groove, I shed the windproof. My body was warm, but my summer shoes with their ample ventilation were making my toes cold.
I pressed onwards and upwards.
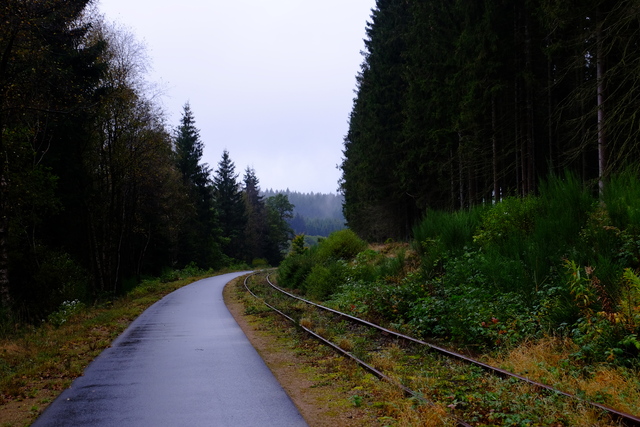
I had been led to believe from my research that the railway line had been removed along all of it’s length apart from a short part now used for rail biking. So I was a bit surprised when track started to appear next to the path. I was even more surprised when the cycle route deviated slightly from the railway and when I rejoined it a number of wagons and a loco were parked on the rails.
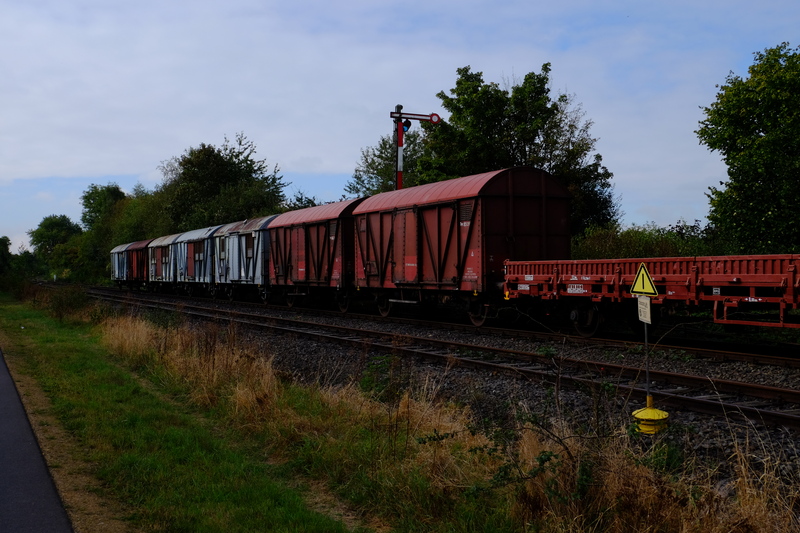
I pedalled on towards Belgium proper. I knew from my map that the route crossed into Belgium near Botz, before doing a large loop back on itself to exit Belgium, yet remain Belgium surrounded by Germany. Before the turn a disused triebwagen lay in a siding disconnected from the railway, covered in graffiti.
As I pedalled on my feet got colder. By the time I rounded the turn and headed back west towards Belgium-Surrounded-by-Germany, my toes were starting to feel numb.
When I packed for this trip 2 weeks previous (I had tacked it onto the return of a week in Eastern Germany), the forecast had been for relatively warm weather, with night temps of 9°C, and day temps of nearly 20°C. Just days before I was due to start riding the weather had swung towards cold. As my toes got colder, I started to worry that I had the wrong sleeping bag. I’d packed my summer bag hoping for temps in the 7-10°C mark. Much colder than that and night time could be rather miserable.
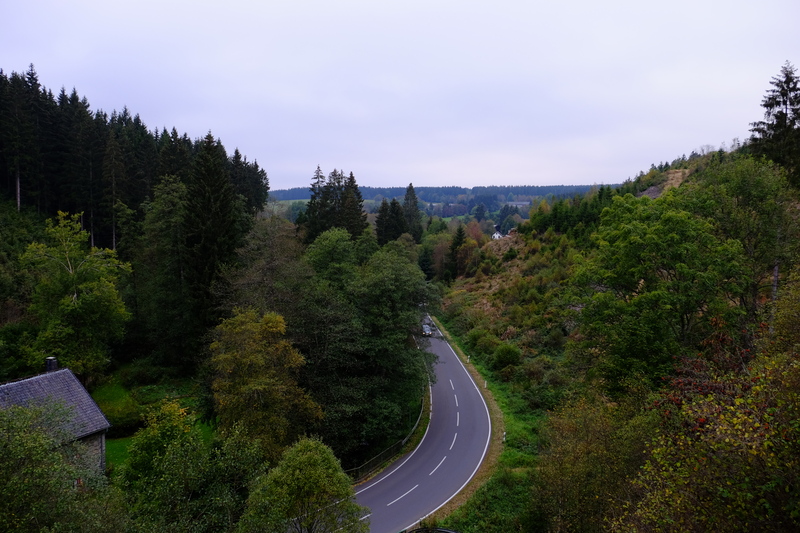
The kilometres ticked by. As I approached Roetgen my feet had gone from comfortably numb, to painfully so, everything forward of the metatarsels was in numb pain. Reflecting that it was somewhat ironic that on a trip that gave me issues due to excess heat the first time, would cause me issues with cold on the second attempt. I considered my options and decided that I would hang a left into Roetgen in hope of finding a cafe or coffee shop where I could warm up, and as it was around midday, maybe find some lunch.
A speedy descent into Roetgen following the signs for zentrum brought me to a main road, where I saw a bakery and cafe. I screeched to a halt and carefully wheeled my bike in, resting it just behind the door. The staff at the counter looked up, but didn’t say anything about the bike in the building.
“Sprechen sie Englisch?”
“Nein”
Ok, this should be fun, time to see if the previous 260 days of Duo lingo had been of any use.
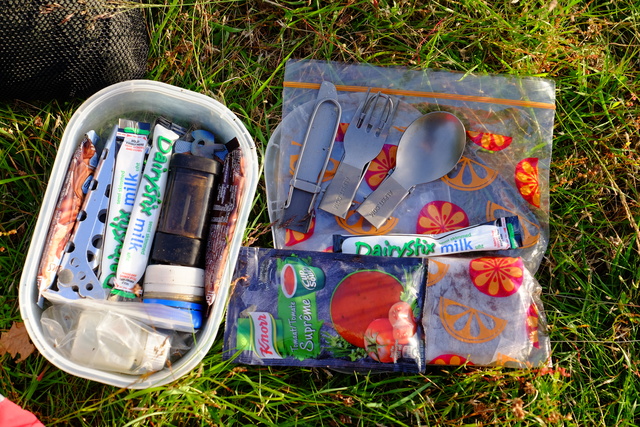
With much pointing, poor German, smiling, and a lot of hope, I managed to order a hot pizza and a bottle of coke. I plonked down in a comfortable chair, ate my lunch and with each heart beat felt the feeling slowly return to my poor feet. I spent nearly 90 minutes warming up and sampling the German cakes. The time to leave approached, I considered the options for my feet. I didn’t have any over shoes to keep the wind off, nor did I have any plastic bags that might work. I did have a thick pair of wool socks. Would adding those to the socks I already wore provide enough warmth, keep the wind out enough, and above all, fit inside my shoes? I tried the left (and bigger) foot first. It fit. Snug, but it fit. I put the other sock on, and prepared to go out again.
The descent into Roetgen had been fast and fun. But this meant that to get back to the Vennrad would mean going up. Fortunately not too much, and I ground my way up in bottom gear. The relative flatness once I rejoined the route of the railway was most welcome. The double sock solution seemed to be working, not too warm, nor too cold, pretty much just right. Temperature sorted, I started to pay more attention to my surroundings.
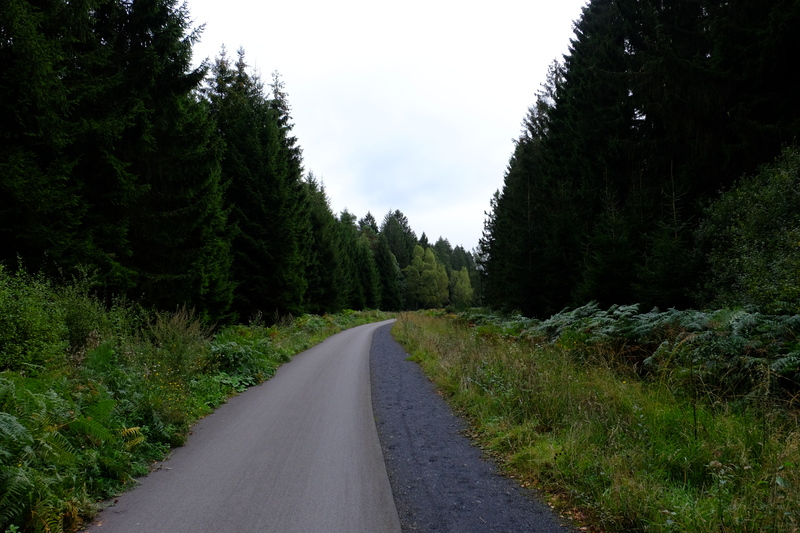
Coniferous forest flanked me on either side for several kilometres. Here and there I could see beyond the bracken into the understory, passing dozens of spots that would make great wild camp locations. This filled me with hope for later when I would need to find somewhere to bivvi down. The rough plan in my head being find somewhere just before Kalterherberg, before the route left Germany behind.
Along the route were regular signs with a map of the Vennrad, a blurb about the history of the route, a useful “you are here”, and an even more useful elevation graph.
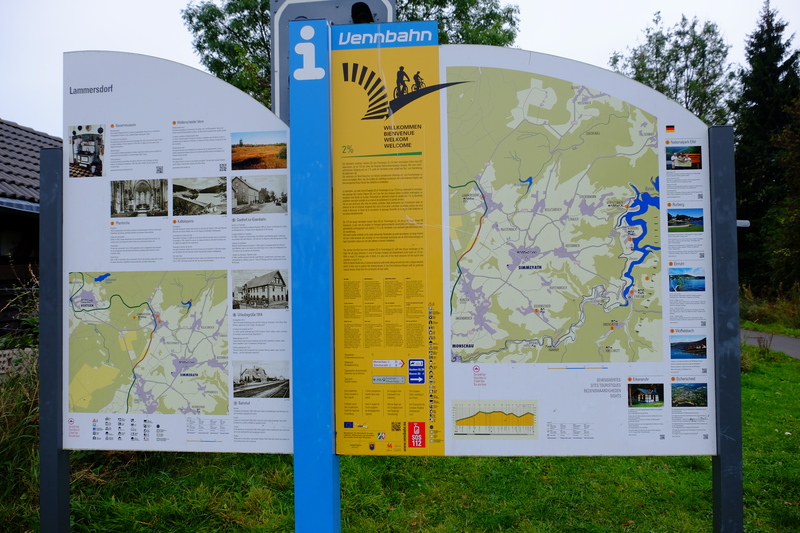
The elevation graph told me that at Lammersdorf things levelled out a bit and may even descend. This would be most welcome, tho every metre of descent would have to later be paid for with more ascent. But for now I welcomed the ability to coast for a bit.
At Lammersdorf I also found a sign telling me about the locals.
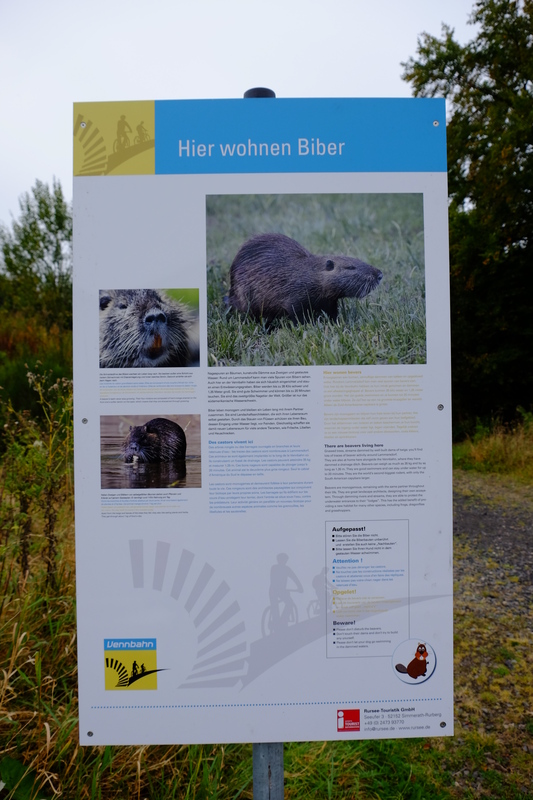
There’s Beavers in them thar hills!
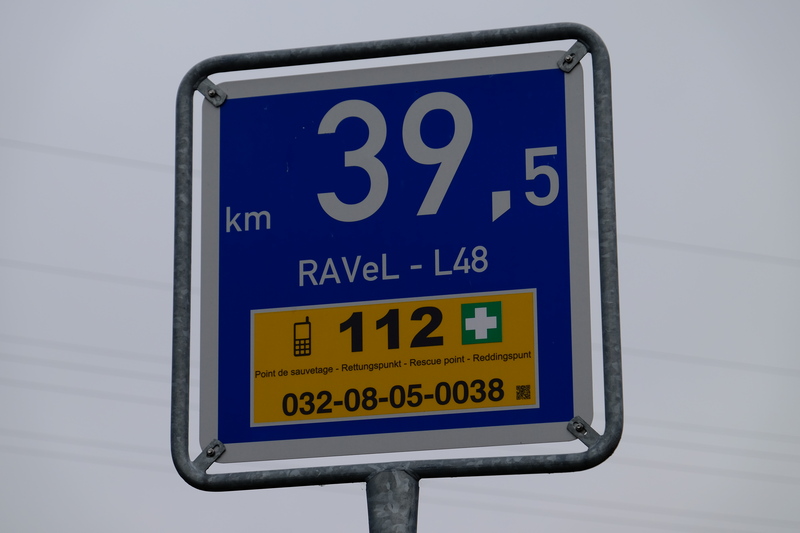
In the lead up to this trip I had joked with friends that if I had an accident on this trip I could have the accident in Belgium, land in Germany, and it would be a nightmare on the insurance form. This had also got me thinking about how one might call in such an event. How would they know where I am? As it turns out, every 500m along the route signs gave details of who to call, and where you were. A bit like hecto-metre posts on motorways.
I cycled onwards towards my intended overnight camp. The kilometres went by, the terrain changed subtly. Forest became higher, and the gradients either side became steeper.
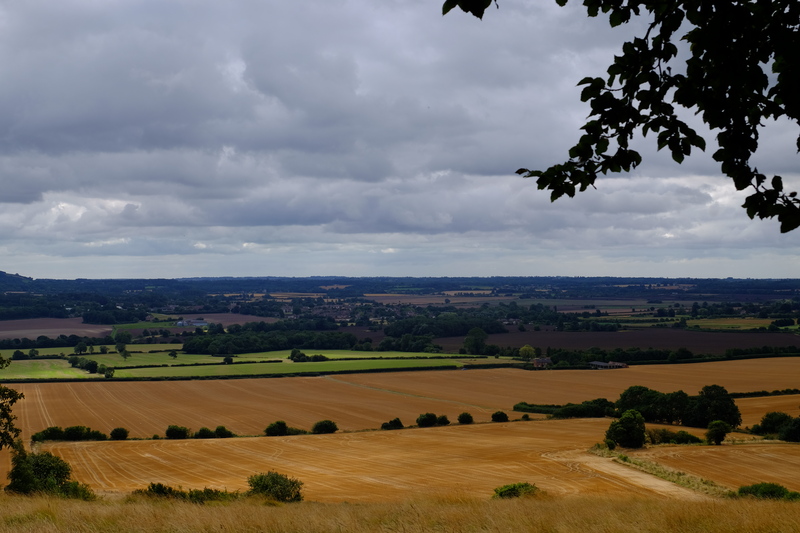
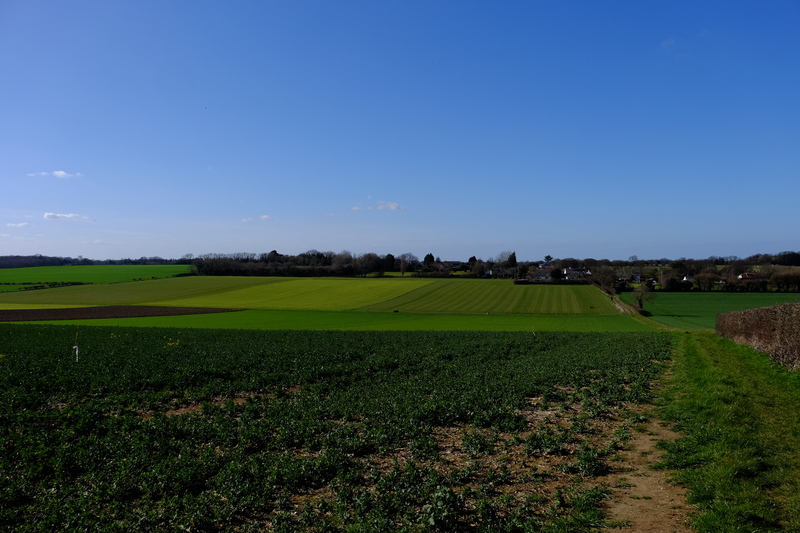
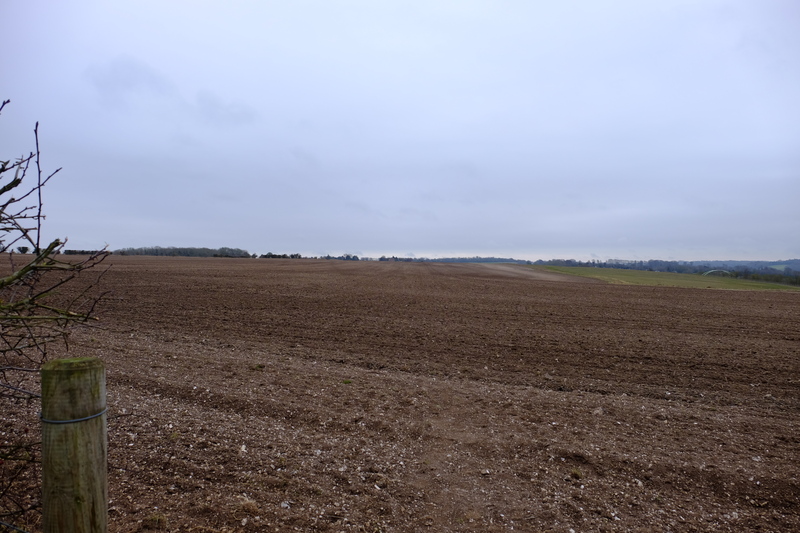
Just beyond the turning for Monschau something in the distance caught my eye. I pulled out my camera and looked through the zoom lens. Yep, it was. Far off in the distance, near the edge of the field, a deer grazed.
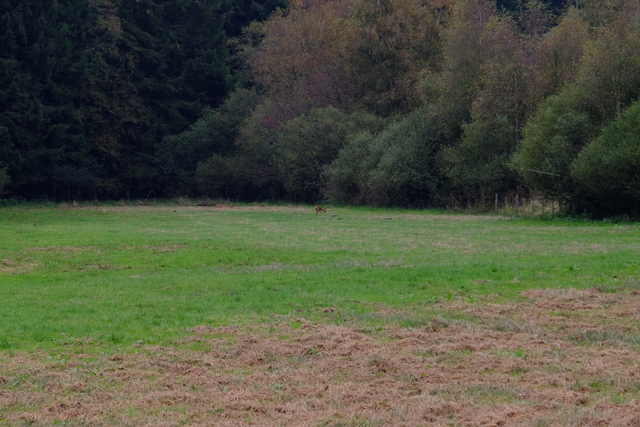
I spent a few minutes just watching the deer. I was far enough away that it either couldn’t see me, or didn’t consider me a threat. It was the only mammalian wildlife I’d see other than a couple of red squirrels near Aachen.
A few kilometres further on I passed 50km distance for the day, and started to think about where to stop for the night. Around this point the terrain either side of the track tool a turn for the unhelpful. Large rocky outcrops towered on my right, whilst a steep ravine fell away to my left. This would certainly make finding a spot to camp harder.
I crossed a viaduct over a valley, hoping that the woods I could see on the other side would yield a potential camp spot. No such luck, ravines and boulders. Even if there was a flat spot big enough for my bivvi bag there, I wouldn’t get to it with the bike.
A few hundred metres further on there was a small car park, and a path heading up into the woods. The gradient had lessened. This had potential.
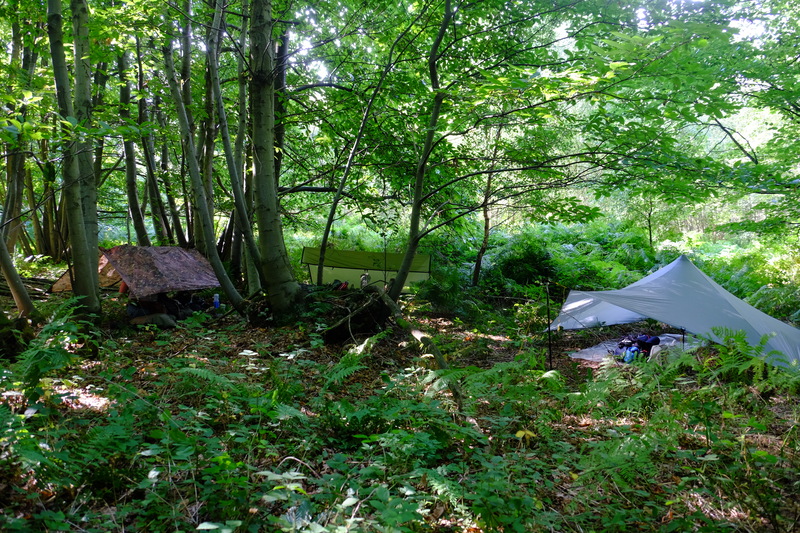
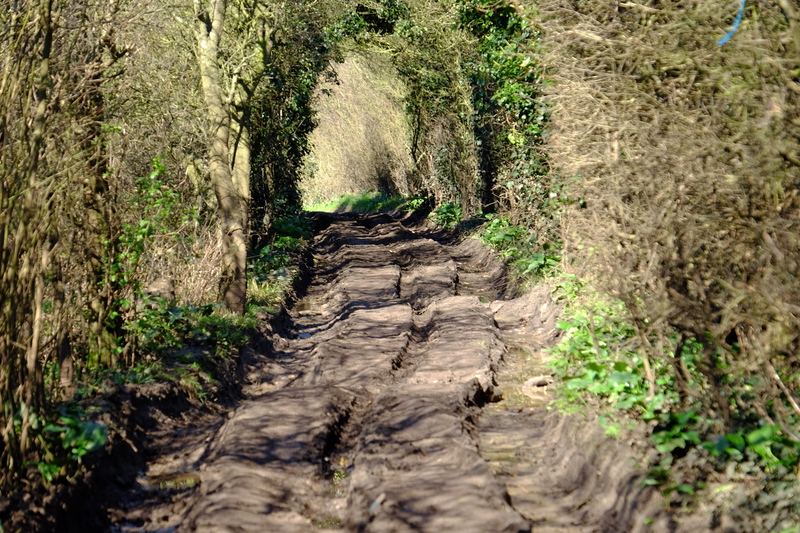
I left the Vennrad behind and pushed the bike along the footpath. I had tried to ride it, but the mud was a bit much for the Brompton, so I pushed. There was a barrier across the path, and to the right there was an area of wood which was flat, if a bit exposed. It would do if I could’t find somewhere better. I followed the path for another couple of hundred metres, There were a few spots that looked plausible, but they were rather exposed, and not really flat enough. I found one spot, at the base of a fir tree, nice clear area, flat, and not obvious from the path. Alas I was not the first to have found the spot and several small piles of decomposing bog roll littered the area round the tree. The same was found near another promising tree. Bah. Why couldn’t they have burned/buried it?
I returned to the path and concluded that I’d have to go with the fall back option. I returned to the first spot, and lent the bike against a tree. I wandered in an increasing circle to find the flattest spot. My circle brought me back to the path. Looking down the other side of the path, I saw a spot that looked ideal. Sure it was several metres down a 45° slope, but it was flat, not a toilet, and concealed from obvious view.
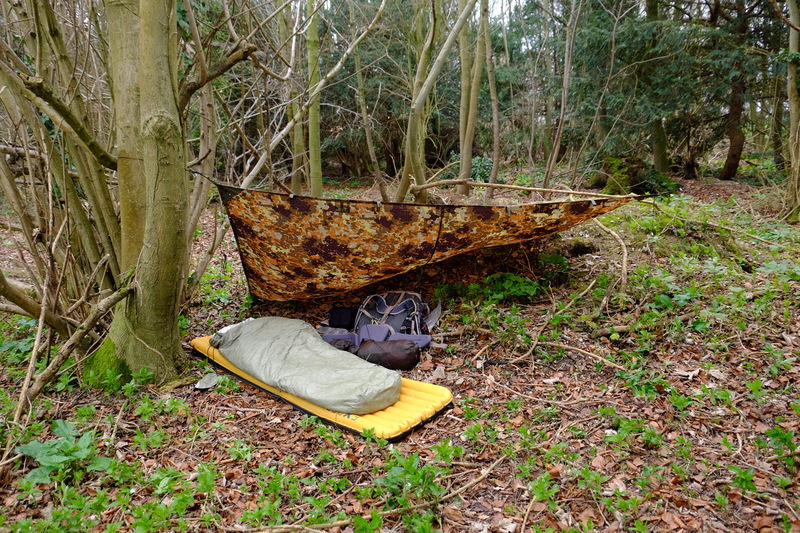
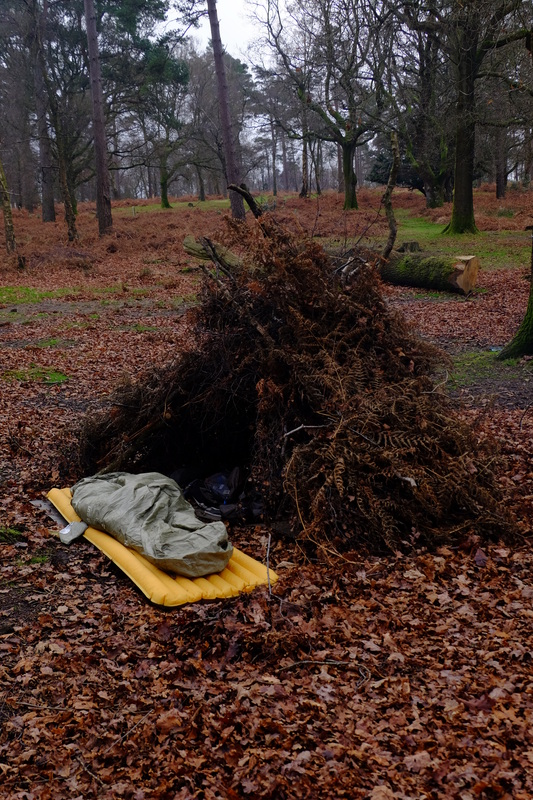
I slid down the forest floor with my Brompton in a controlled descent mostly on 2 feet. Up close the spot was perfect. A slight depression only a few inches deep would conceal my sleeping mat (bright yellow :() from prying eyes on the cycle path, there were no dead branches above to worry about. Yes, this would be perfect.
I sat under a tree and while dinner cooked, sent a friend a message on my inReach asking if they could work out what country I was in. I only had a 1:50k map, and the borders here are somewhat blurry, so wanted someone with zoom on their map to take a closer look. The message came back. Germany. Belgium’s just up by the treeline. Dinner cooked, I rolled out the bivvi bag, and crawled into my sleeping bag. I was still nervous about how cold it would be, some forecasts said 1°C, some 7°C, if the former, there was no way my bag would be upto it, if the later, I may just be ok.
The previous night I had stayed at a youth hostel, which meant that I had with me in my bag my Towel. In true hitchhiker’s fashion, I deployed this as an extra blanket inside my sleeping bag, along with my fleece and a hot water bottle.
It wasn’t enough.
Within an hour of laying there, the cold had seeped in and I conceded that I needed something more. I dug into my bag for my space blanket. The last time I had needed to use it, I had put it between bivvi bag and sleeping bag, and it had caused a lot of condensation problems. As I had another night after this, I didn’t want a soaking wet sleeping bag, so decided this time to try it inside the sleeping bag, between it and the silk liner. This and my base layers should at least dry pretty quickly.
With the space blanket and towel wrapped round me, cocooned in my sleeping bag, I wrapped my feet round the hot water bottle, and drifted off to sleep.
I slept beautifully.
My alarm woke me to a dark 0600. I lay in my bivvi bag comfortably warm, well rested, and surrounded by dark trees. Dawn was the best part of an hour away, so I hit snooze and lay back to enjoy my surroundings. As I lay there, the first drops of rain could be heard on my bivvi bag. I sinched the entrance down tight, leaving just enough space for my mouth and nose, and then rolled onto my side hoping that it wouldn’t start to rain properly if for no other reason than so I didn’t have to pack away wet gear.
Dawn broke, and the rain stopped.
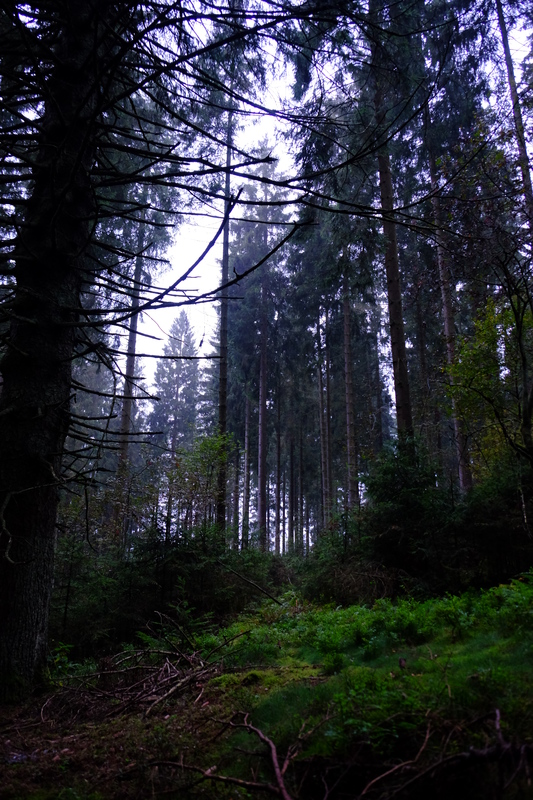
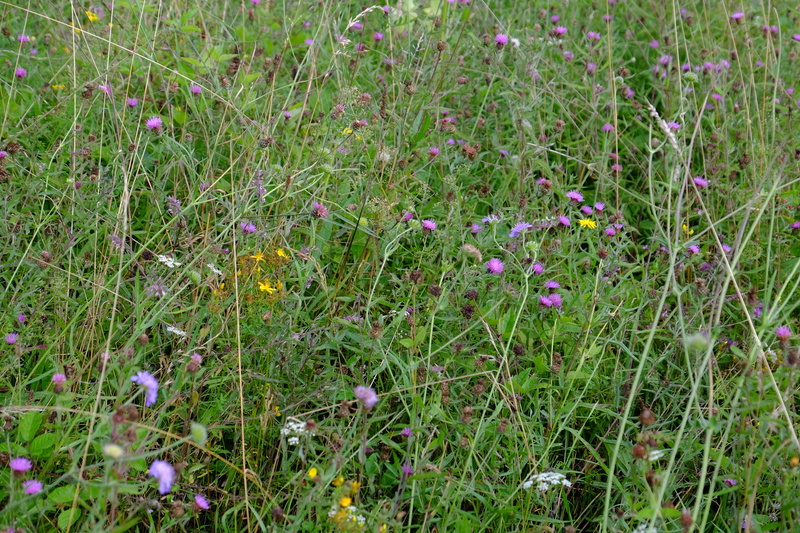
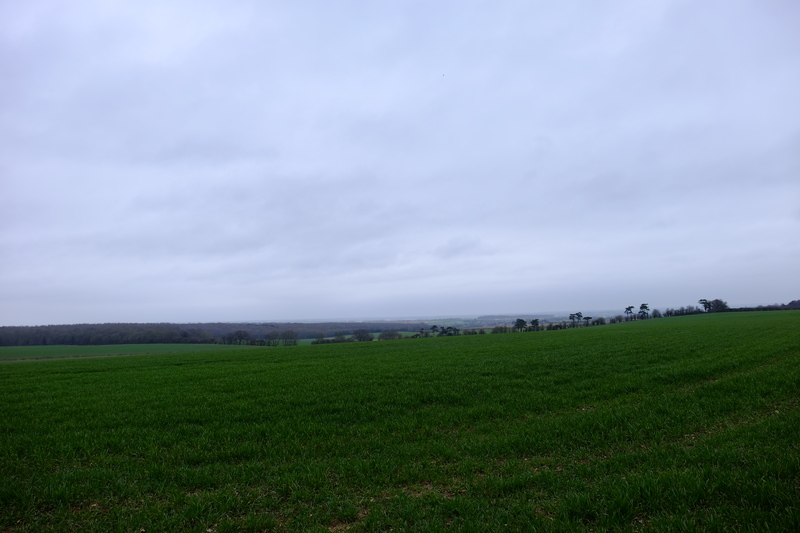
The view from my bivvi bag.
I broke camp and repacked everything onto the bike. Now I had a decision. Climb up the hill with everything to the path, or slide down the hill to the cycle track. I considered my options, and decided to give down a go.
It wasn’t the right decision.
I slid down the hill on my arse, with the Brompton across my lap side on, landing in a ditch (thankfully not full of water) next to the cycle track. Now I just had to limb the 1.5m up out of the ditch… Eventually I made it, with little dignity, and a very wet arse. I didn’t care, it was a beautiful morning.
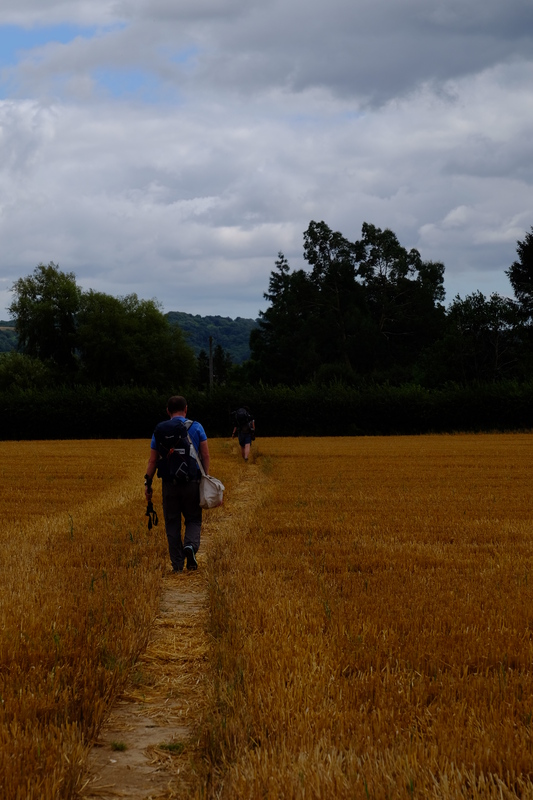
Damp, misty, and beautiful.
I detoured into Kalterherberg for a hot chocolate and some breakfast, before leaving Germany and entering Belgium for the last of the Vennrad to Sour Brot.
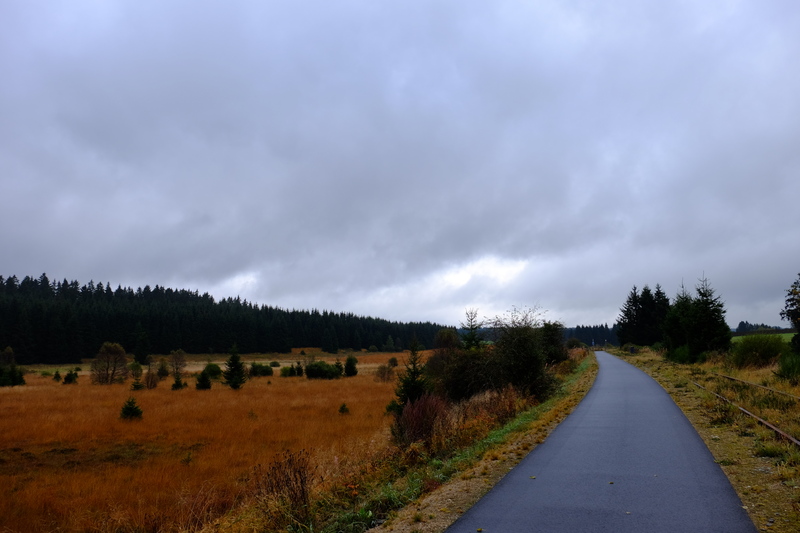
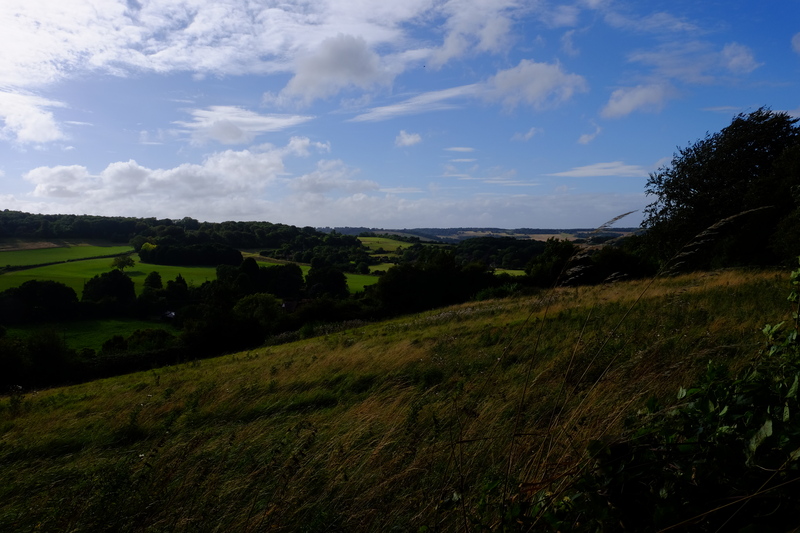
The terrain started to open out again and at 500m above sea level, took on the appearance characteristic of the High Fenn.
A few kilometres down the line I left the Vennrad for the last time at Sour Brot, and headed North towards the whole purpose of this trip. Signal de Botrange.
Up until now I had had at most a 2% gradient on the vennrad, with occasional steeper bits when I’d left the route in search of food, but here things started to get steeper. Even with the extra low gear I’d added to the Brompton since the last attempt, I still found myself pushing the bike.
The final 200m of ascent over a distance of 2km was largely walked with occasional riding for short bursts before getting off and walking again.
As I neared the peak, the road started to level out and the amount of riding increased, still interspersed with pushing.
Eventually, just before midday, I arrived at the top of Belgium. Where I found a cafe.
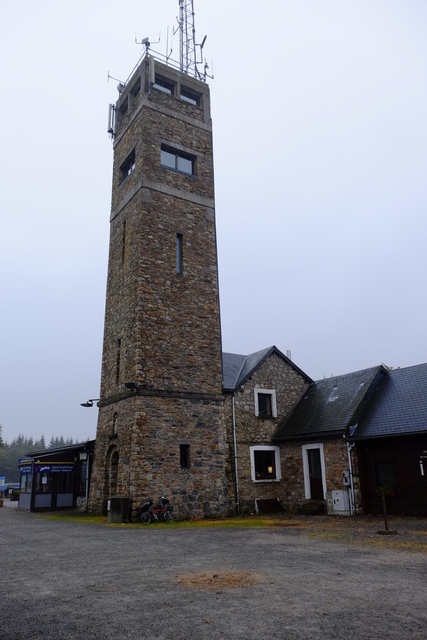
Not exactly the most intrepid of peaks. But they didn’t complain when I wheeled the Brompton inside and collapse into a chair. I’d done it! And in time for lunch. It’s at this point that I discovered the waiter was in fact the only monolingual Belgian, and didn’t understand English, Dutch or German. Eventually, with the help of google, and some pointing, I ordered a steak, followed by ice cream. It was delicious. Made even better by the ride here to get it.
At 694m above sea level, Signal de Botrange is actually little more than the highest point of a large bump, standing in the carpark it would be hard to spot the exact point that’s highest. Fortunately the Belgians have built a 6m tall tower on the highest point, giving you a nice round 700m height. Alas as it was so cloudy and raining, I didn’t bother climbing the tower, just to see a cloud, I could see the same cloud from ground level…
From here on, it should be down hill. All the way to the Netherlands. I put on both jackets, 2 pairs of gloves, and my buff. This descent would be cold.
I eased the Brompton out of the carpark onto the road, and started to pedal down. It was a slow start, the wind wasn’t helping, but eventually gravity kicked in, pulling me down towards the Netherlands. At 50kph, the windchill is substantial and I was rather glad of the extra layers. At 50kph, I descended rather quickly and with every 100m of altitude drop, things got warmer. By the time I turned off the N68 onto the country lanes, things had warmed up enough that I stopped to take some layers off.
The next 20k was largely uneventful, through sleepy Belgian villages. Despite .nl being down hill, it seems my route crossed a couple of valleys, giving me a couple more hills to push the bike up.
A couple of kilometres from Vaalserberg I crossed the border back into Germany into the village of Wald. I hung a left off the main road and started to go Up. I had another 100m to climb in the next k. Bah. Not good. I left wald and crossed back into Belgium and into woods. Here I ground to a halt in a clearing at the base of a 40° incline. I’d already done over 50km today, and energy levels were low. Common sense says I should have sat down, had a mars bar, had a drink, then continued. Alas, common sense isn’t all that common, and with much swearing, I slowly climbed the hill.
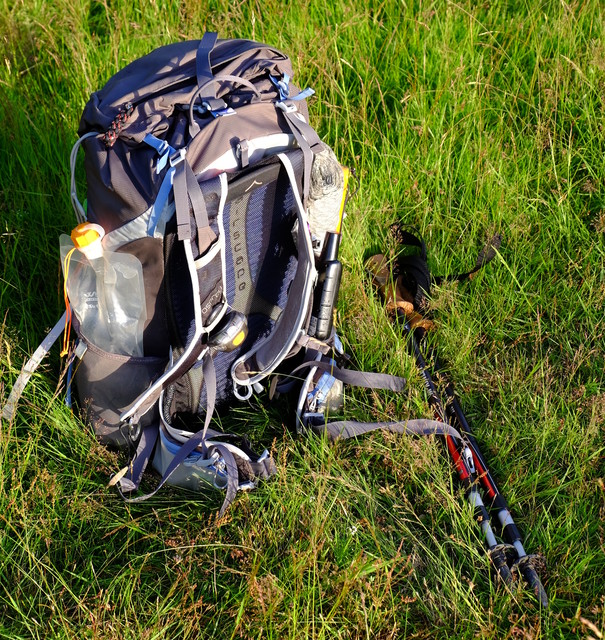
As I paused for breath on the climb, two birds of prey caught my eye. They circled the clearing a few times, as I watched, before disappearing into the canopy. The pause gave me enough energy to get to the top of the incline, where things levelled out a bit into a slope which had an element of down to it. Unfortunately the descent was perpendicular to the direction of travel, which made cycling along it slightly more interesting. Fortunately this was short lived, and at node marker 5, I really did reach the top of the final ascent, that allowed me to coast down to the Vaalserberg.
Goal achieved.
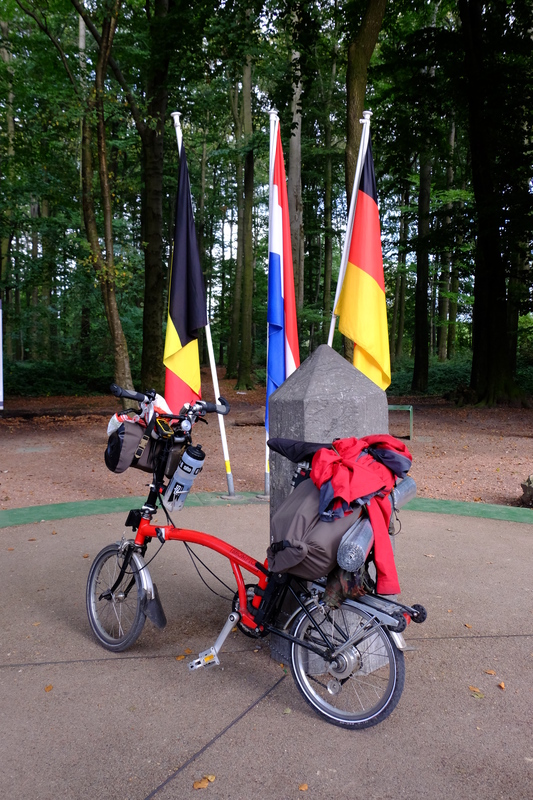
Front wheel in Germany, rear wheel in Belgium, bottom bracket in The Netherlands. An international bike.
I had originally planned to bivvi somewhere in the woods on the Belgian side, but it was still only 1700, my legs felt good, and Heerlen station was only 22km away. So I decided rather than risk a cold night out, I’d make a break for Heerlen and a train home. It took me a bit over an hour to do, but just after 1830, I arrived at Heerlen station. On the first day I did 50km through 2 countries. Today I’d ridden 80km, through 3 countries and reaching 694m above sea level. My longest Brompton ride yet, my second longest ride on any bike, and my highest Climb. The total for the trip was 130km.
It had taken two attempts, but I’d finally done it. The High points of the low countries on my Brompton.