I wanted to have a go at baking bread over an open fire (ideally without resorting to very heavy Dutch ovens). After much research it seemed that dry baking was the way to go.
Dry baking is basically sticking one pot inside another with the item you’re baking inside the inner pot. The inner pot is kept from the outer pot by some sort of separator. You can buy dry baking kits designed for hiking, but being on a budget and with most of these being US in origin, I decided to have a go at using stuff I already had.
Equipment wise I used two Tatonka stainless steel kettles, the 1.6L and the 1.0L.
The recipe was for a simple white loaf.
- 500g Strong white flour
- 1 Sachet bread yeast
- Salt
- Slug of olive oil
- Warm water
I mixed the ingredients together in the 1.6L pot. In hindsight I put a bit too much water in, which made a very damp mix. Fortunately the friend I was camping with had some spare flour, unfortunately it was self raising flour. After a bit of kneeding the dough was left in the covered pot by the fire for it’s first rise. I was making this outdoors in April so needed the warmth of the fire to get a rise within a reasonable time frame.
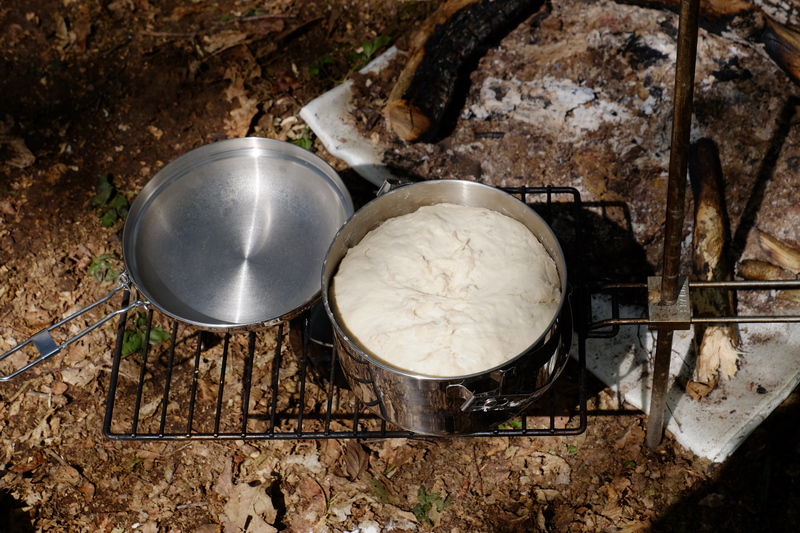
First rise of the bread next to the fire
First rise went pretty well, but it became apparent that 500g of flour makes a lot of bread, I split the dough roughly in half, one half for my experiment and the other half I gave to my camp mate for her to experiment with. Knocked back and with a brief kneed, I left the dough in the lid of the 1.0L pot with a loose covering of foil to keep it from drying out. The dough spent about half an hour next to the fire rising.
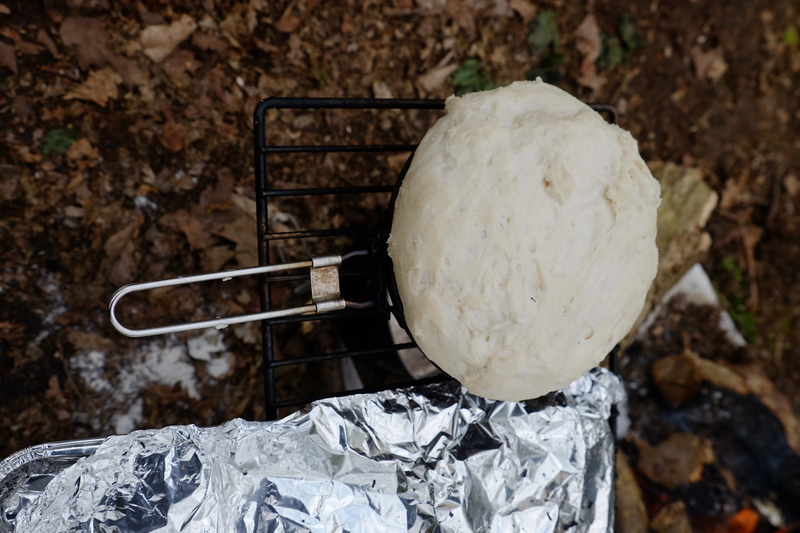
Second rise after knocking back.
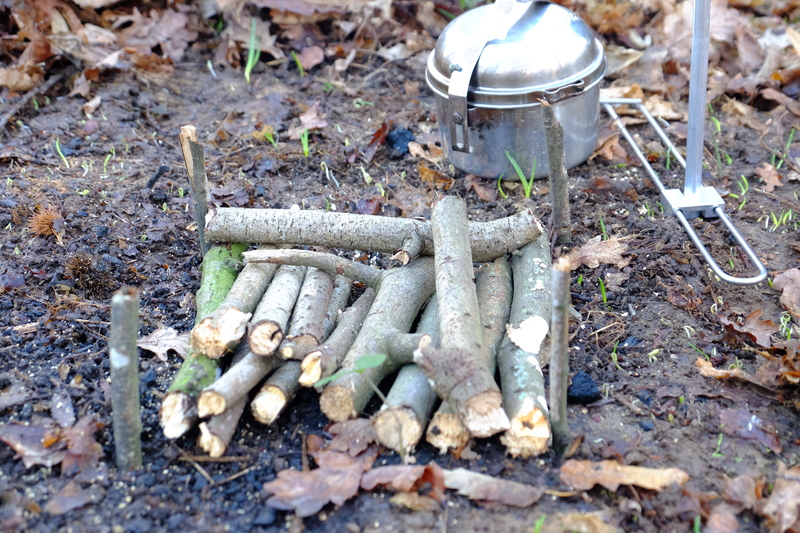
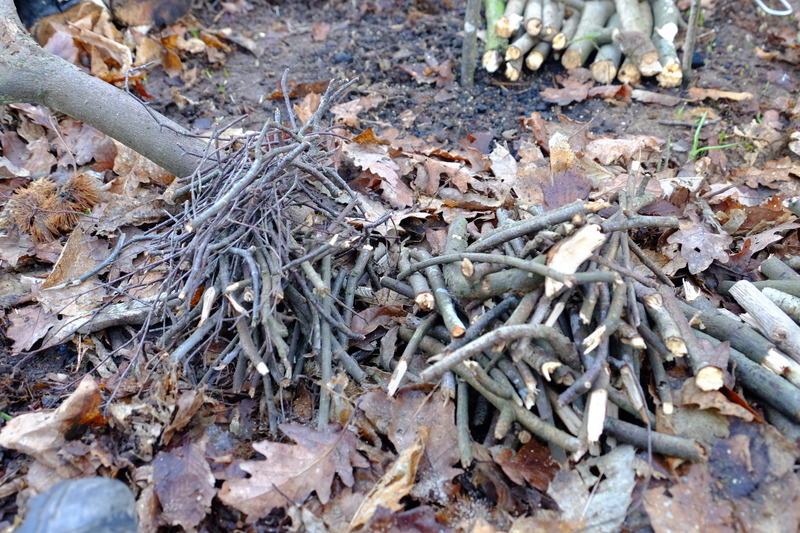
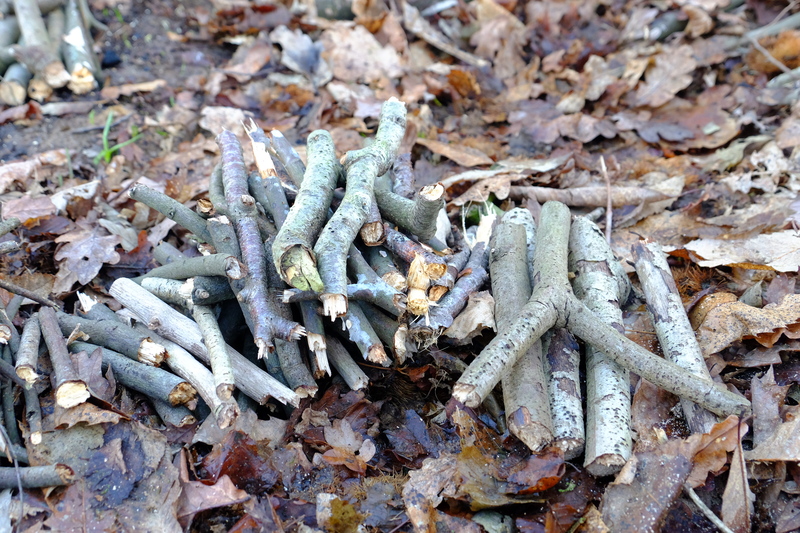
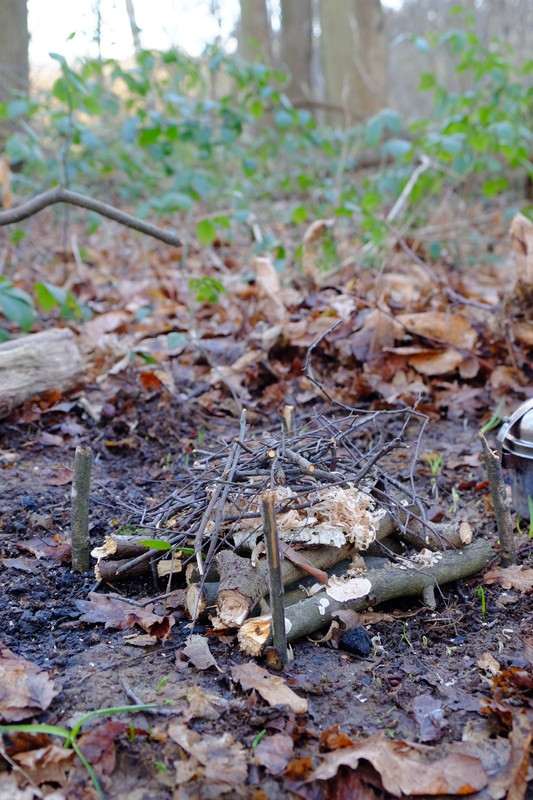
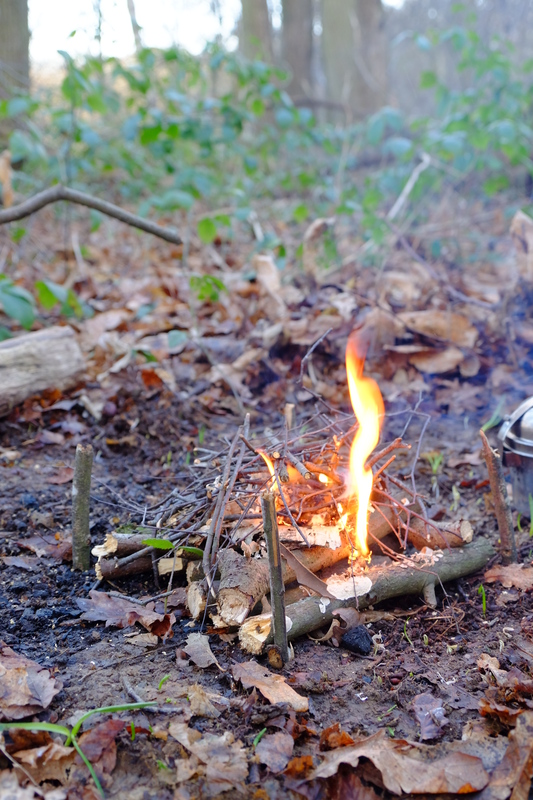
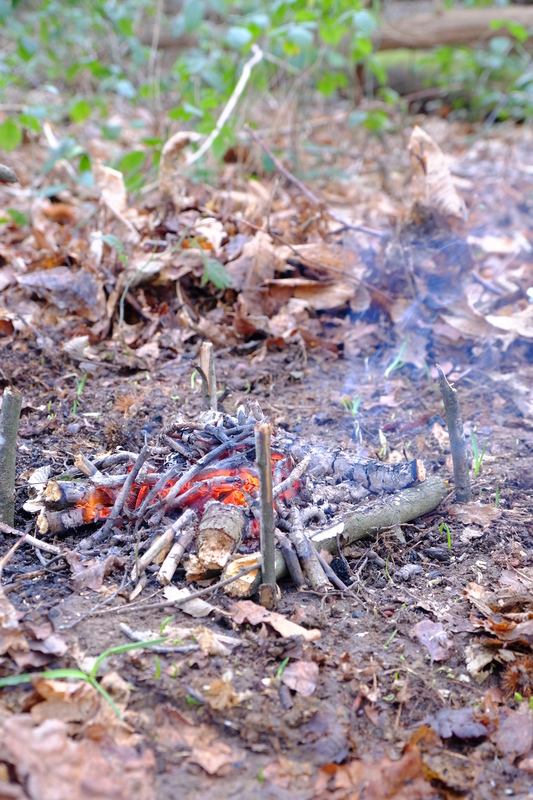
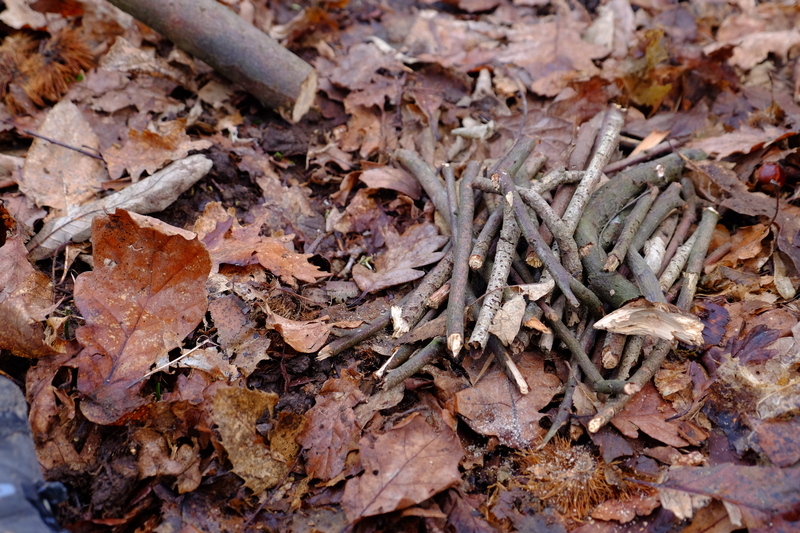
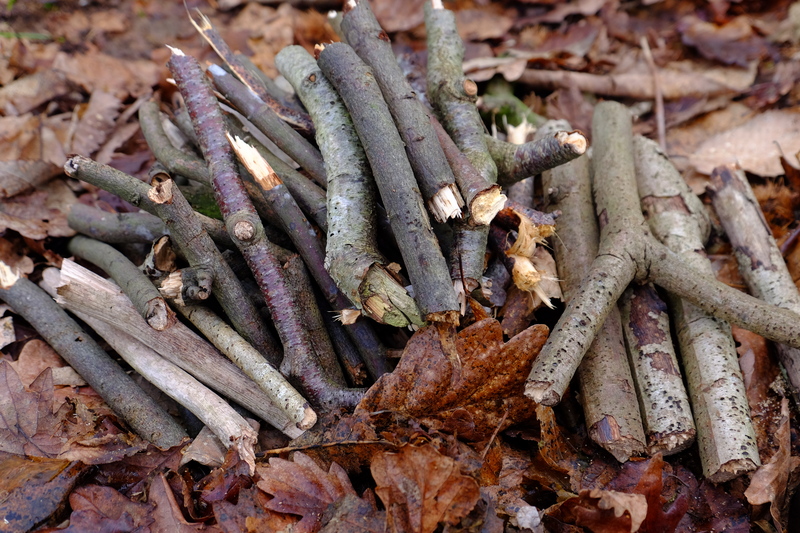
While the dough had it’s second rise I built up the fire. It had been burning since breakfast that morning, but I turned the Just A Pile Of Sticks™ fire lay into a log cabin fire lay. The fire wood was seasoned hornbeam approximately wrist thick. The aim was to get a good hot bed of embers.
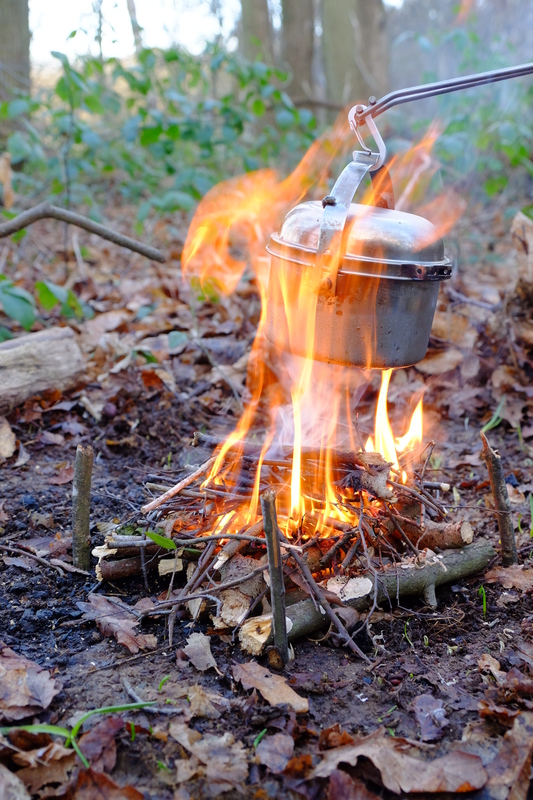
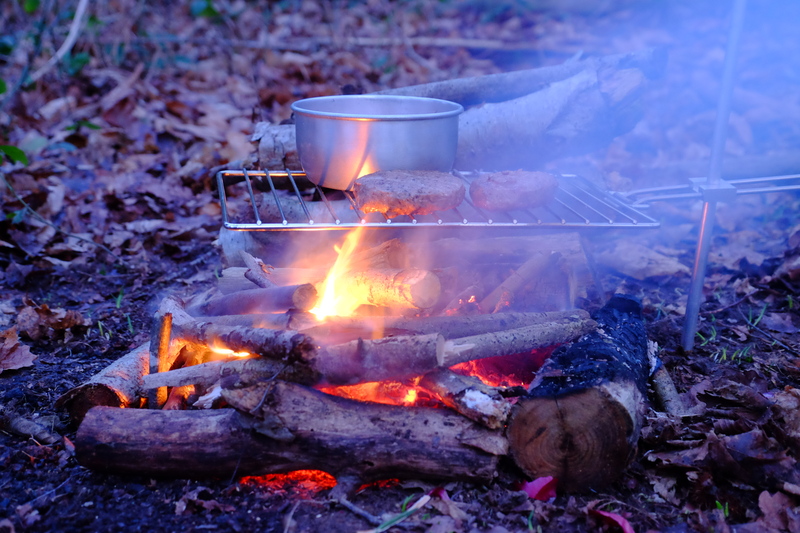
I dropped the dough in it’s lid into the 1.6L pot, with a layer of aluminium foil in the bottom crumpled slightly to provide a gap between the outer pot and the inner pot. Then it was just a case of putting the pot on the fire, and hoping…
While the bread cooked, I carved a butter knife out of a piece of green hornbeam.

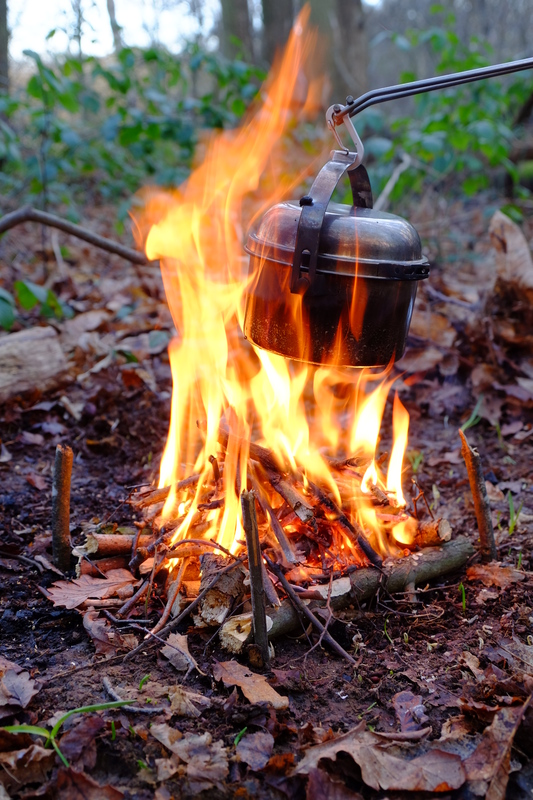
Bread in “the oven”.
After about 40 minutes I took the lid off the outer pot to take a look. It looked like the dough was cooking nicely on the underside, but not fully cooked on the top. I gave it a bit longer while I had a think, before deciding to turn the bread over. I had oiled the lid before I put the dough in, but hadn’t managed to fully coat the rim and the bread was stuck. Eventually with some levering and poking with sticks, I got it separated.
Inverted, the dough got another 20 minutes or so. I then just had the slight issue of how to get the bread out the pot without burning myself. After inverting the bread into the lid of the 1.6L pot, then turning that back out onto the ground. The result? One good looking loaf of bread, with a nice hollow sound when tapped.
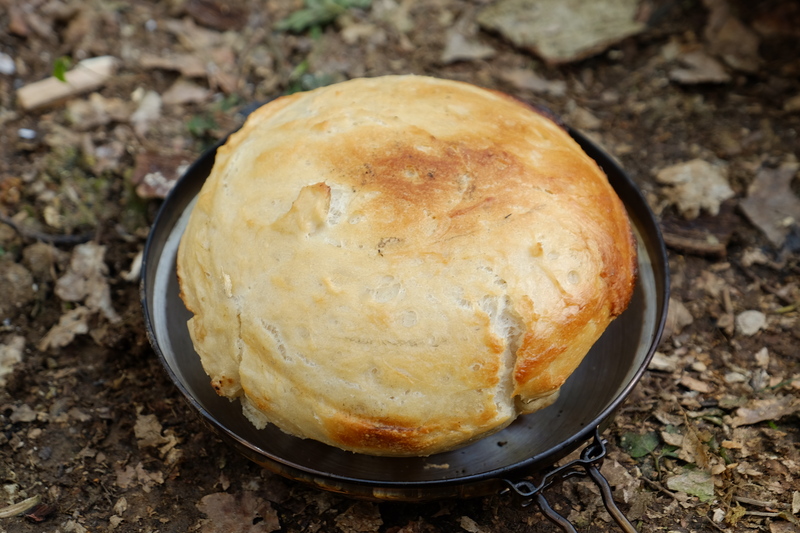
Bread fresh out the oven – Good crust.
Slicing the bread through the middle, it was cooked through. Just perfect. The crust was not brilliant, I’d forgotten to score the top of the loaf before cooking. But inside the crumb was lovely. I might not win any prizes on bake off, but for a loaf of bread cooked over an open fire in the middle of the woods. I am pleased.
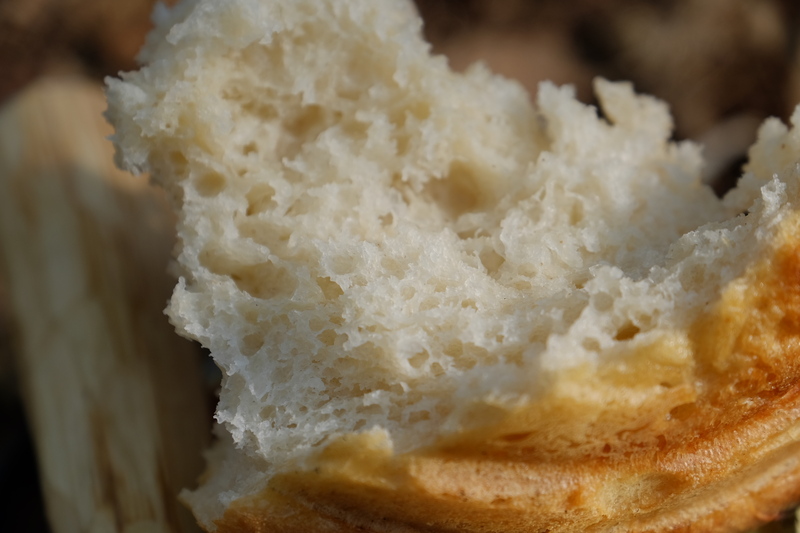
Good crumb!
Of course the proof of the loaf is in the eating. Served up with some salted butter, spread with a simple hand carved butter knife, the loaf didn’t last long, disappearing in about 10 minutes. The taste wasn’t the best I’ve ever made, I think it could have done with a bit more salt. But it was certainly tasty enough that it all got eaten. In future I think I’ll use about half the flour and increase the salt. I’m guessing 200-250g of flour is about right for this size pot setup.
All in all, tasty fresh bread baked on an open fire, using no specialised equipment, just the stuff I have in my pack, I’m pleased with that.
Next time I may have to see if I can bake a cake…

Bread and Butter. Butter knife carved while the bread cooked.