As I stood where the path should be looking up at the stinging nettles above me, I started to question my navigational choices. We were on this path because the path we wanted to take was hidden under an impassible jungle of Brambles, nettles and other spiky vegetation. Batting Triffid like nettles out the way with my poles as I walked, I wasn’t sure this path was any better.
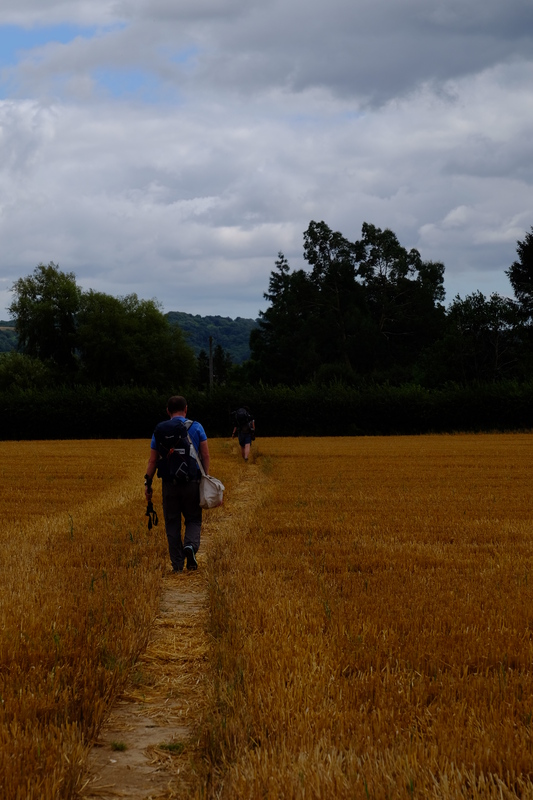
The path I was on is somewhere in east Kent, and unusually for my trips, I’d managed to persuade 3 others to join me for this hike. Ahead disappearing into the undergrowth were Jesper, Jim and Jules. But this was a hike with extra purpose, this time, we hiked for science.
A Hypothesis.
Every year someone (usually a young bloke in their late teens) asks on one of the Bushcraft forums that we all use a question along the lines of:
My mates and I want to do a hike, foraging and living off the land as we go, can anyone give us suggestions on where to go and what to forage for?
And every year the regulars on the forum give patient well worded replies along the lines of:
You can hike, or you can forage, but not both
It’s a simple enough equation. The adult human needs 2000-2500 kcalories a day to cover their needs, more if they are expending any great effort. Whilst the modern human has access to refined sugar, copious mass produced carbs and endless fats, in nature it’s not so easy. If you grab a book on wild food, you’ll find a whole catalogue of things you can eat without killing you, but to cover your 2000 calories, how many of these would you need? Unfortunately the standard indexes of calories in foods don’t tend to include things like Goosegrass, Bog Myrtle, or Nettles. But looking at the crop wild relatives of some foods that calorie numbers are available for, you can get a rough idea. Assuming that cabbage and sea kale leaves aren’t too dissimilar, how much would you need to eat in a day to cover your 2000kcal? Roll some dice, crunch some numbers, and you get a figure around 6kg. Yes, SIX kilograms of sea kale. I’ll buy a pint for anyone who can prove they’ve eaten that in a single day… Not exactly ideal. What about apples? An apple is about 50 kcalories. So you’re looking at 80 apples. So the numbers are pretty damning. You’re not going to be able to forage for enough food to meet your energy requirements let alone hike any distance at the same time. But this is just a theory, it’s just numbers. What we really needed to do, was put this to the test.
Method
Our basic plan was 4 people with varying levels of knowledge of wild food, and varying fitness would meet up somewhere in Kent, and do a 2 day hike with an overnight bivvi, trying to forage for our dinner as we went. So as to not try to bite off more than we could chew, the route we settled on was a simple 25km loop starting and finishing at Wye station. This would take in varying habitats including woodland, hedgerows, field margins, access land, and a section of the North Downs Way. Giving a good representation for a hike in Southern Britain.
UK law would limit our foraging to the four F’s – Fungi, Foliage, Fruit and Flowers. This gives us a vegetarian diet, but in theory should give us access to all sorts of interesting food stuffs. Assuming we could find them, identify them with certainty, and in some cases reach them.
We left the station in good spirits. Jules, Jesper and myself. Jim would join us a bit later. We decided we’d let ourselves get out of the village before we started to forage, other wise we could easily end up getting nowhere. We made it 100 yards up the North Downs Way towards the Wye Crown before coming across a really good patch of black berries that were too good to miss. We foraged for 5 mins, trying to find as many as we could in that time – a few handfuls. We could have spent an hour there and picked the area clean. But if we did that, our average speed would make the whole trip untenable. But it was a start, we had something, even if it wasn’t much. A bit further a long I spotted a squashed plumb on the floor. I’ve long realised that often the easiest way to find fruit trees is to look on the ground for their windfalls. We now knew there was a plum somewhere near by, we just had to find it. A search of the nearby hedgerow located the tree, as well as it’s crop of a plum. One solitary plum, about 8 feet off the ground. Just out of reach. Bah. Ah well. Onwards.
We progressed up the hill to the Wye crown were we stopped to drink in the view, and drink some of our water. It was blowing quite a hooley up there. As we crossed the ridge we wandered along the edge of a recently harvested wheat field. In various places unharvested seed heads lay on the ground and in a few places stalks that the combine had missed stood dancing in the wind. We grabbed a few handfuls, it wouldn’t be enough to bake a loaf, but it would be a welcome addition to what ever stew we could come up with for dinner.
With the strong wind we were grateful to drop down the other side of the ridge into a valley, where we passed along well maintained (read threshed to bits) beech hedging. A linear monoculture. Beech leaves are technically edible, I used to infuriate my Arboriculture lecturer in ID classes by eating the samples to tell the difference between beech, hornbeam, elm and birch leaves (apparently this isn’t the approved method…), but this late in the season (late August) they don’t taste very good, nowhere near as tasty as first thing in the spring. There may have been a few edible weeds around the base of the hedge, but there were prime dog pee height and none of us wanted to spend much time checking them.
Continuing on we entered woodland. I stopped to look at the map, checking were were going the right way when I heard.
“Is that a chicken?”
“Where?”
“There.” I looked up from the map to see where Jules was pointing. Yep, that was chicken of the woods(Laetiporus sulphureus). Five metres up in the crotch of a mature oak was a large chicken of the woods mushroom. We stood staring, trying to work out if there was anyway we could reach it. None of us had brought any climbing equipment, nor ropes, and the 3m or so to the lowest branch didn’t seem like something we could safely reach. Tauntingly, we left it behind us and continued on. As we walked we found a fallen ash tree that provided some cramp balls (Daldinia concentrica), and fallen birch tree yielded copious quantities of bark. We could at least forage forage for our fire lighting materials if nothing else.
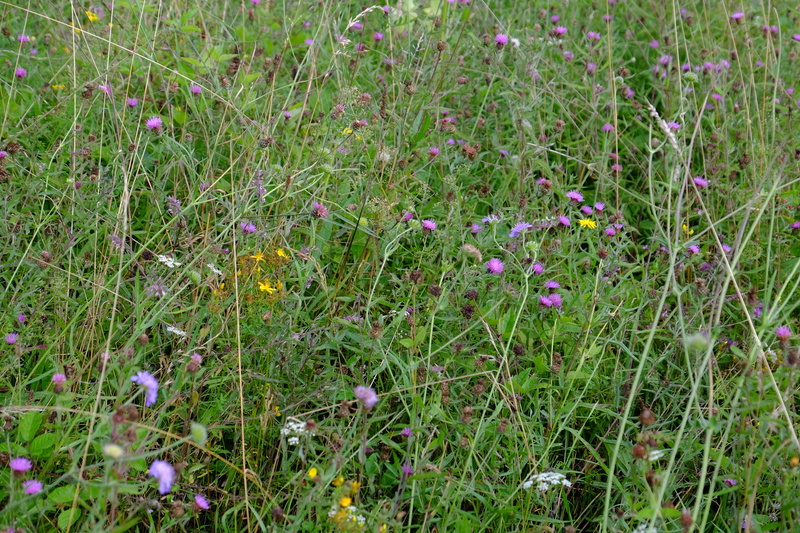
Exiting the woodland we found ourselves on a hillside that had been seeded with wild flowers as food for pheasants and other wild birds. We tried to identify various edibles among the grass, but none of us could be certain about a lot of them.
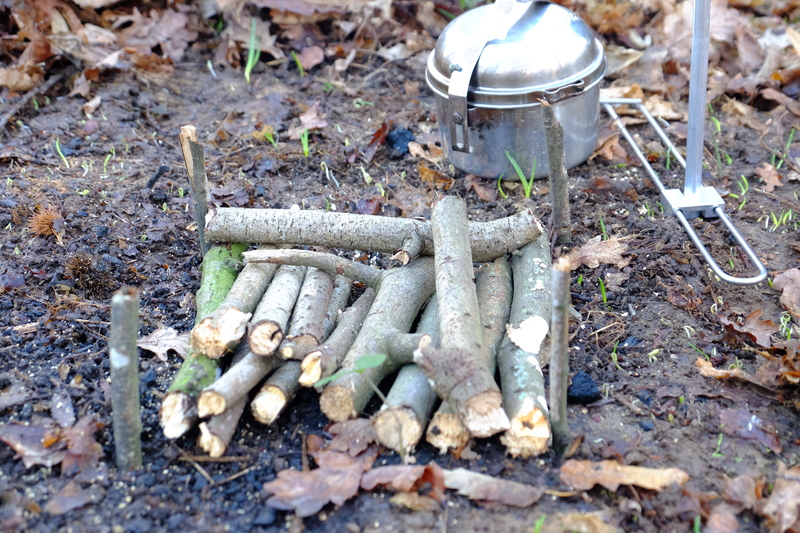
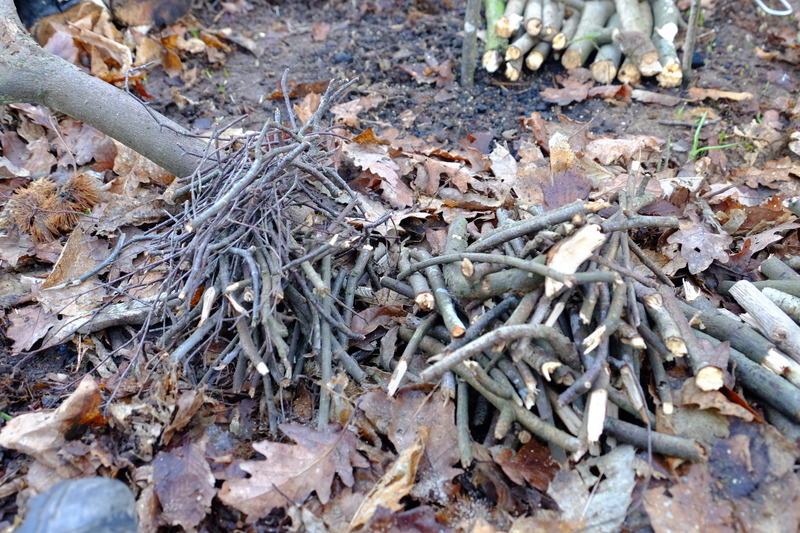
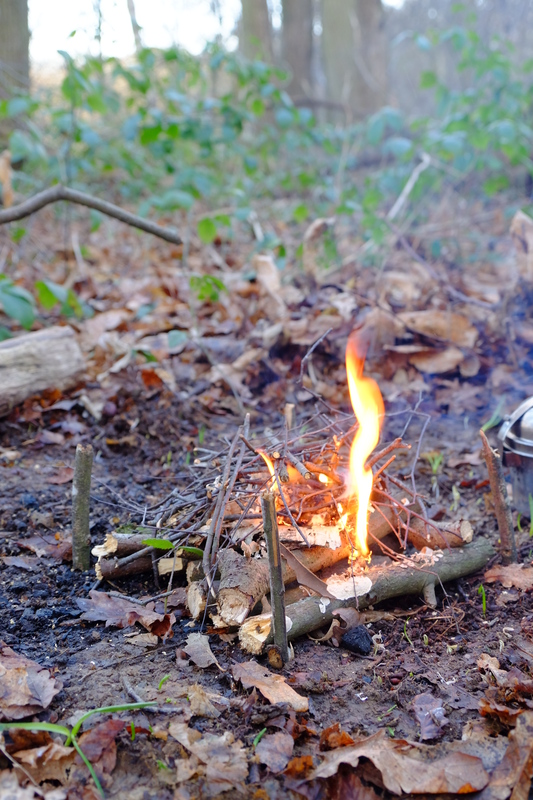
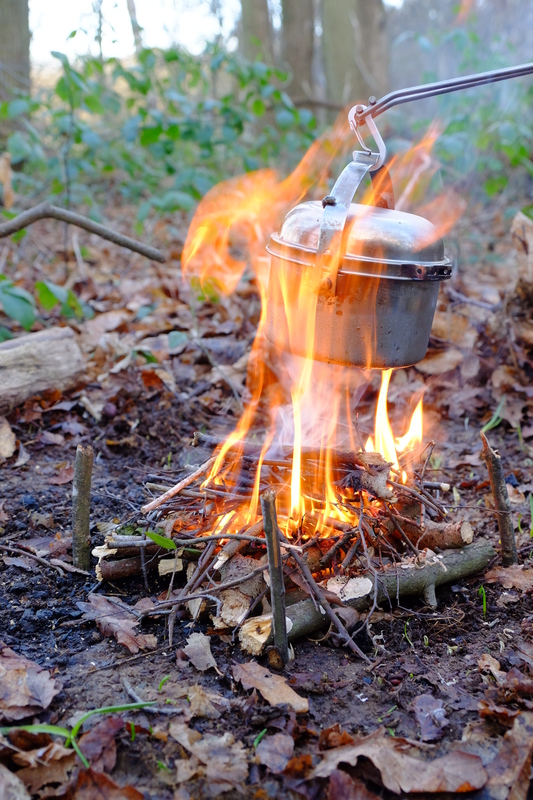
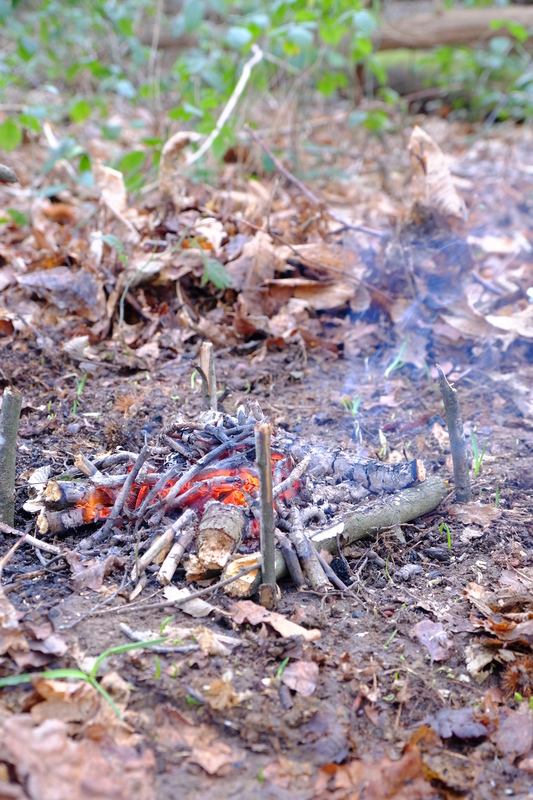
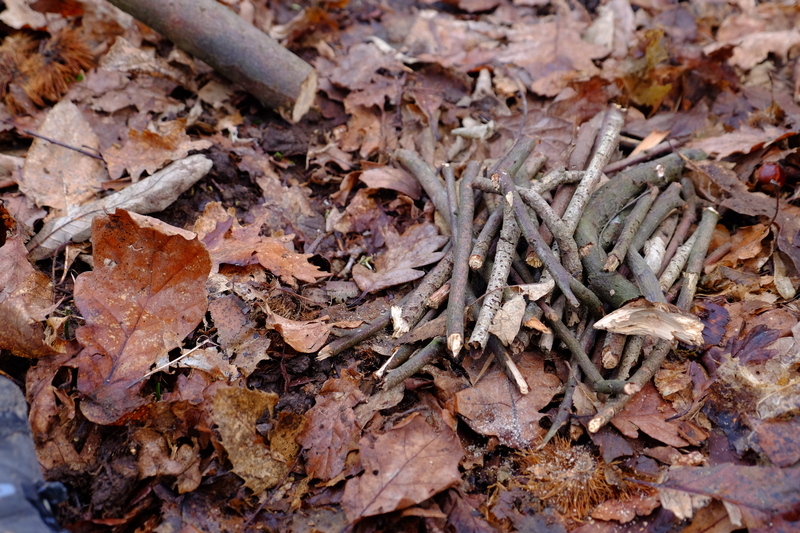
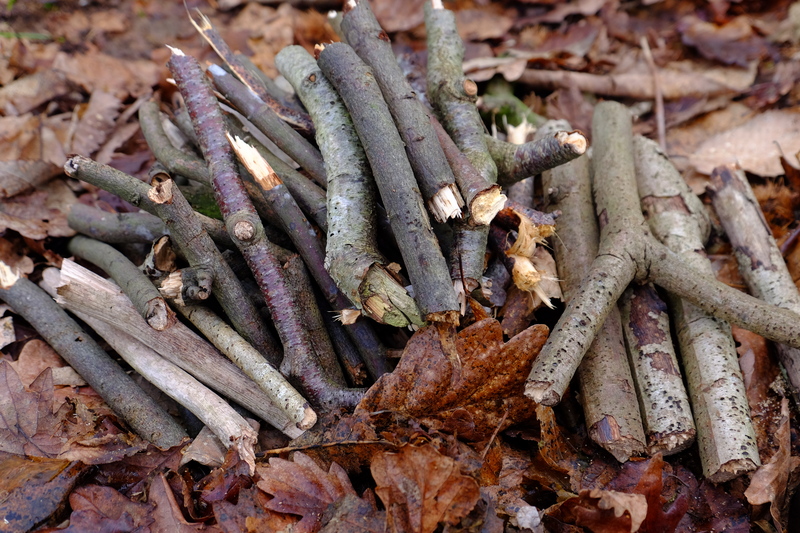
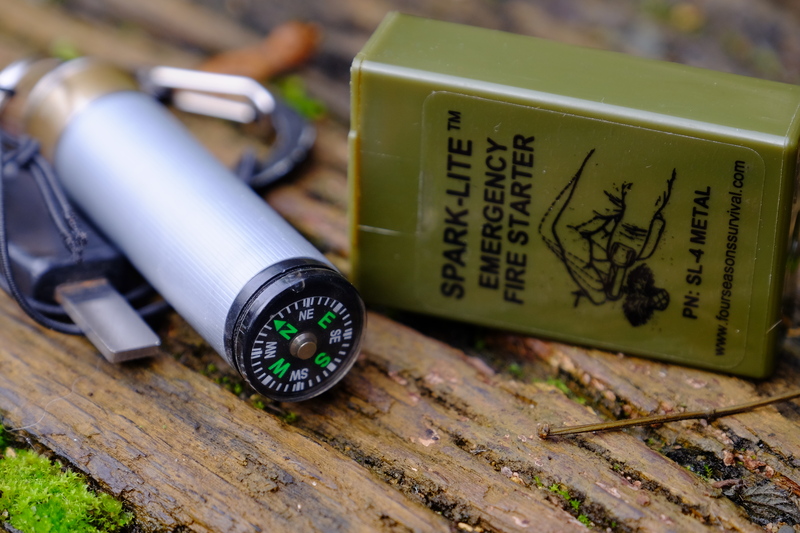
We decided that it was a good time to start thinking about coffee. Crundale church was a couple of kilometres away and the bench there would make a great place to have a break. I had a small wood gas stove in my pack that I picked up on ebay. In theory it would burn twigs very efficiently and save us the need to carry fuel. But this meant we now needed to add fire wood to our foraging. We walked, eyes everywhere trying to spot things that might be edible, as well as any dead standing twigs that would burn.
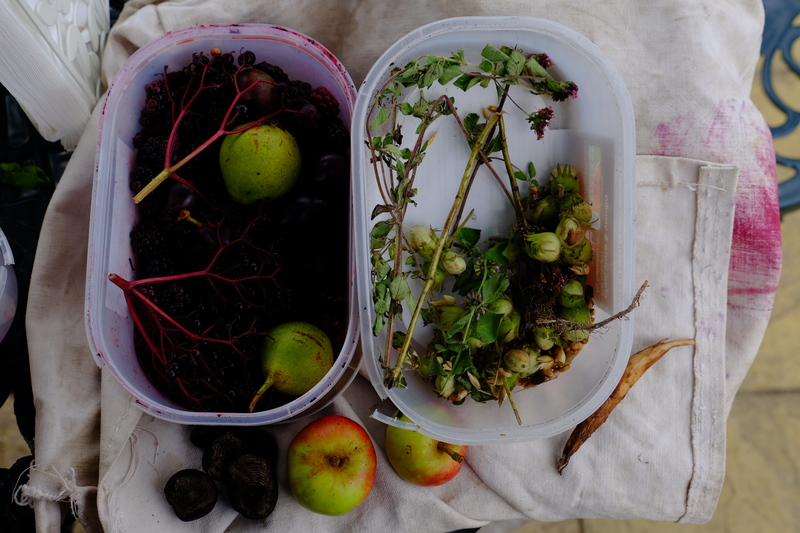
Arriving at Crundale church we set out our harvest so far. Blackberries, Hazel nuts, wheat, some leaves, a couple of cramp balls, birch bark and some twigs. Not exactly inspiring.
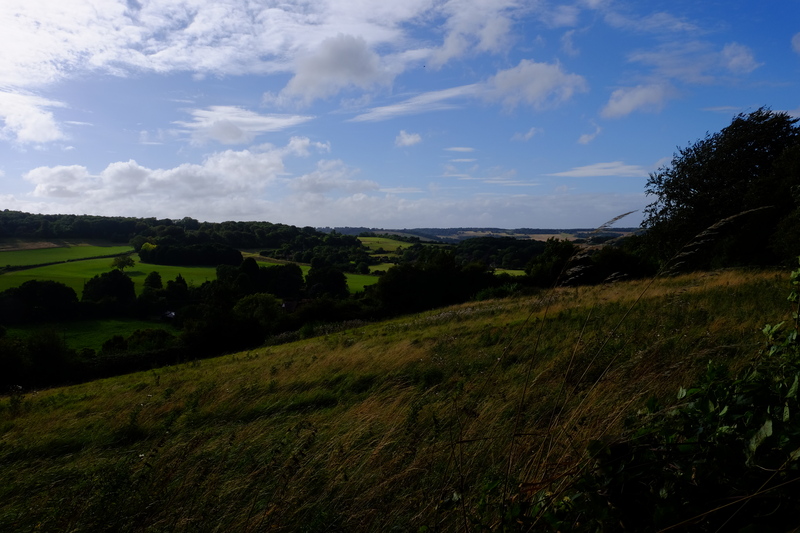
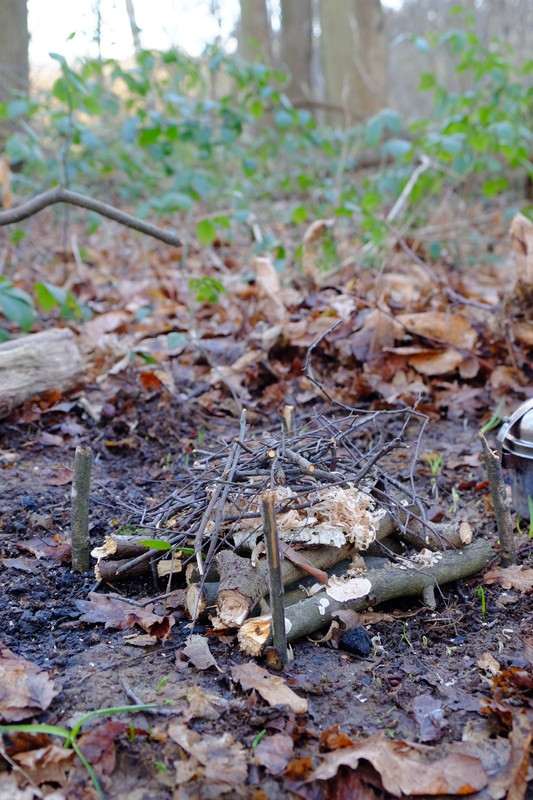
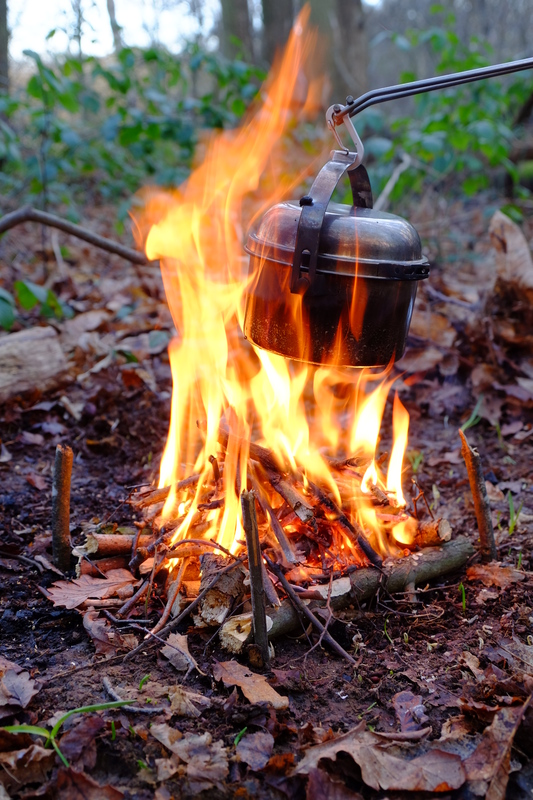
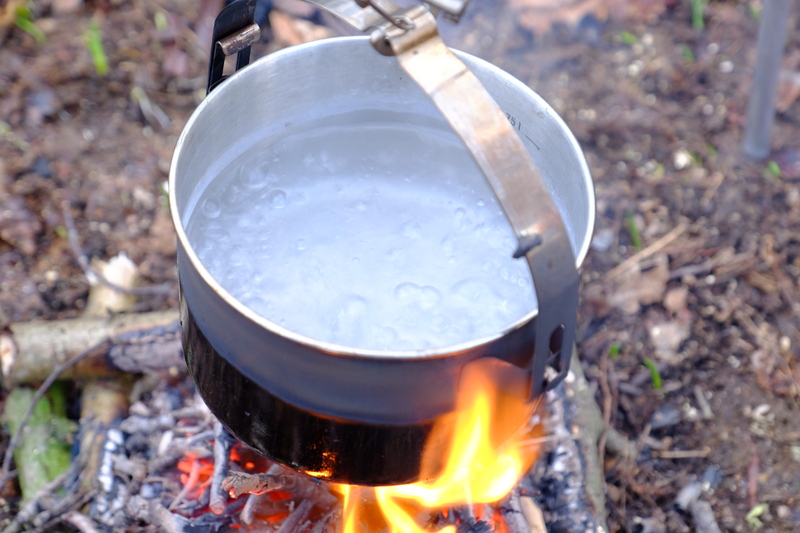
Located on top of a ridge just outside of the village of it gets it’s name from, Crundale Church affords a beautiful view that more than made up for our poor harvest. As we admitted that our hypothesis was looking proven, we dug into the emergency backup Mars bar supply. The downside of being on the ridge was the wind. Trying to light the stove by the bench wasn’t going to be an option, so we sheltered behind a yew tree, adding out backpacks and bodies as extra protection. Thus followed an hour of trying to get the stove to boil a pot of water. The wind provided cooling to the pot, as well as made keeping the fire going really hard. Feed it too fast and it would choke and go out, Feed too slow, and it would starve. Eventually we decided that this was never going to boil and transferred the water to a gas stove and had coffee ready a couple of minutes later. With impeccable timing this was the point Jim turned up. Drinking the coffee we winnowed the wheat we’d found, here the wind was useful.
Fed and watered, we set off down the road. After our game of “how many bushcrafters does it take to boil the kettle.” We now began a game of “how many bushcrafters does it take to find the right path”. Eventually we found the path we wanted and headed towards Eggringe wood. We had some fun navigating the forest tracks and pathways, but as we were approaching the way out of the woods we hit pay dirt. Burdocks! (Arctium lappa). Using a potty trowel, and a hastily carved digging stick, Jim and Jules dug around the base of a large plant to extract the root. After much digging they proudly raised their treasure for all to behold. Six inches long and barely thicker than a thumb, we had a dock root. We had starch. We discussed the merits of our new bounty. Given the effort of digging it up, we concluded that it wasn’t exactly an efficient use of energy or time. Growing nearby we found some mint plants and raided a few sprigs that we could perhaps use to make mint tea with.
Continuing on towards Chilham Down Jules introduced us to the culinary hit of the trip. Nettle seeds. Available in large quantities, and tasty, they provided a food we could graze as we wandered, as long as you were ok to put up with the occasional sting.
The path from Down wood to Chilham down proved to be interesting, with nettles and brambles towering over our heads. Several times I questioned which idiot had chosen this route (that would be me). Finding one route over grown we opted to detour down towards the cycle route at the bottom of the hill, this was hardly any better, but eventually it did end and we found ourselves on the cycle route next to a railway line and the A28.
Map check revealed we were nearly a kilometre further south than intended. This did present us a new option tho. At the cost of a short section of road walk, we could cross the river and continue on the other side which should be prettier. We also concluded that having largely failed to find enough food to feed 4 people, it might be best if we diverted to Chilham to take on fuel at the pub.
It was a good theory, and having navigated the most optimistic kissing gate design I’ve ever seen (none of us fit through and had to climb over), we wandered along the edge of a field by the river. Alas the route marked on the map seemed to disappear into the under growth and provide no useful way forward. We ended up skirting all the way round the edge of the field before eventually finding a gap in the hedge that allowed us out onto Mountain Street half a km south of where we intended.
With the gravitational pull of a pub exerting it’s influence upon us, we picked up the speed along the road to the Woolpack inn for a well earned dinner.
After dinner Jesper had to head off, leaving Jim, Jules and myself to continue on in search of somewhere to sleep.
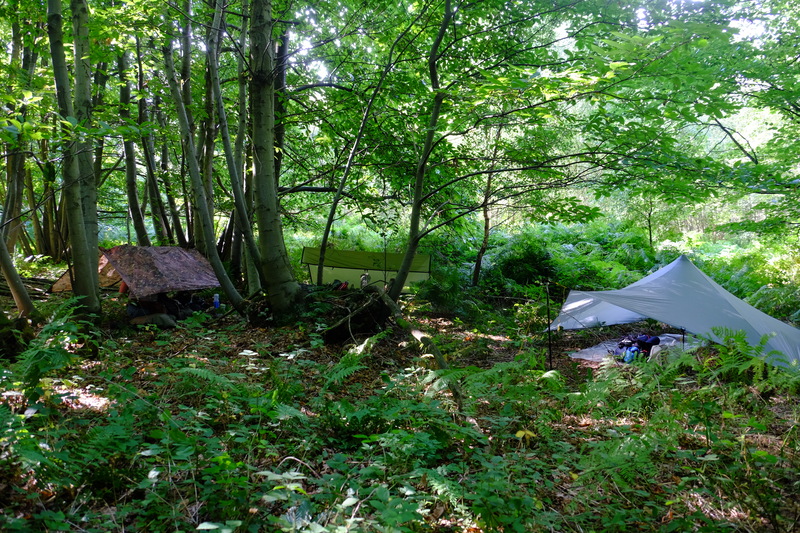
Exhausted and in the dark the three of us hunted out a suitable spot to sleep in nearby woods. Tarps up, bivvi bags deployed, we hit the hay for a well earned sleep.
Morning revealed that perhaps our choice of bivvi spot wasn’t as good as we had thought in the dark the previous night. Out attempt to get out of site of 2 paths had put us in rather obvious view of another. Fortunately noone seemed to have noticed us (or been bothered enough to react to us at least). We broke camp and back tracked to the North Downs Way which we would now follow all the way back to Wye.
In light of our poor foraging yield the day before we decided that we would be better off seeking out a pub lunch in Wye, leaving us more time to concentrate on the scenery and just walking.
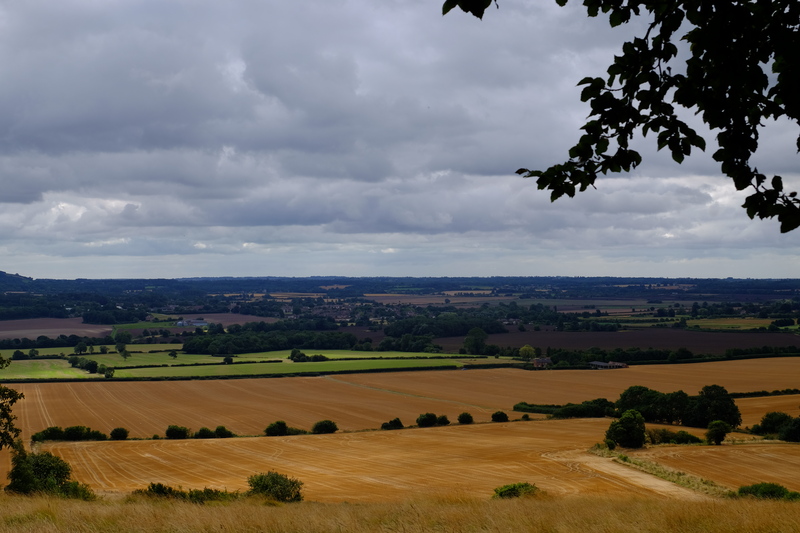
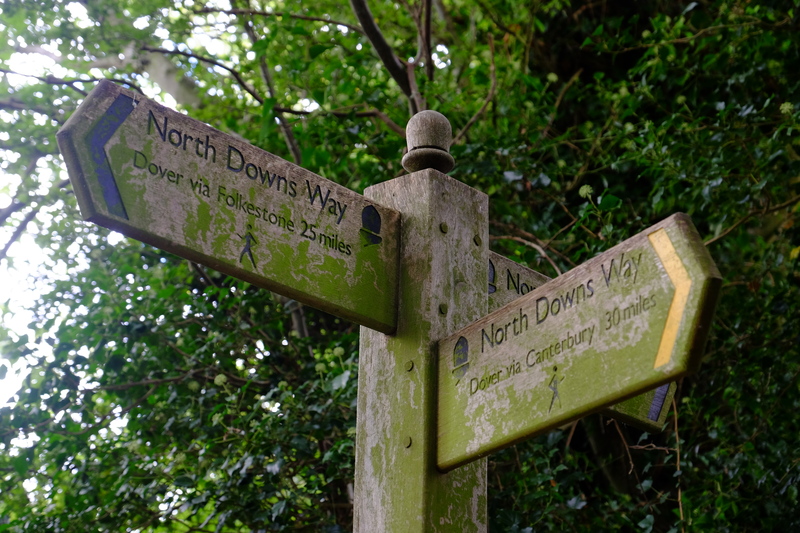
Leaving the Kings wood we descended into a landscape of golden fields in various states of harvest. Down hollow ways and field edges we arrived at Boughton Lees. This is where the North Downs Way splits on it’s route towards the sea, with one route going via Canterbury and one route via Wye.
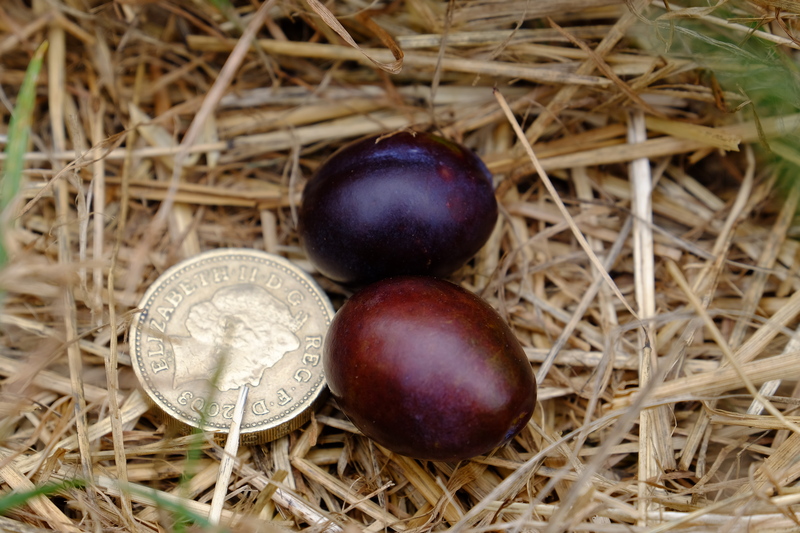
In one of the hedge rows we found a tree from the Prunus family with plump fruit. We couldn’t work out if it was a large slow, or damson, or a bullace, or diminutive plum. Jules seemed to find them tasty enough tho.
Crossing the A28 we found ourselves at Perry Court Farm. Here we found the important trio of clean loos, tea, and cake. The idea of which was too much, and so 1km earlier than planned, we decided to stop for lunch here. Jim got a call from his other half who was in the area and wondered if we wanted a lift. With sore feet and having achieved what we set out to, we decided to accept the lift and end the hike here.
Results
So what of our experiment?
Despite being one of the more bountiful times of year, we hadn’t been able to find enough wild food to feed the 4 of us, and in trying we’d ended up hiking well beyond dark, pitching camp at gone 2300. We discussed the experiment over tea and concluded that had we gone to one location, set up camp, and then done forage parties round that area we probably could have foraged enough to make meals that didn’t leave us too hungry. Tho still short on energy requirements for the day. If we could add fish or fowl, then hitting it becomes more achievable. We also felt that you need a much greater knowledge of wild edibles than collectively we had. If we had carried a few staples like rice, flour, instant mash, and some stock cubes. Then we could easily have added foraged ingredients to liven up what could be otherwise bland fare.
Conclusion
In conclusion, our hypothesis seems to be about right. You can walk or you can forage. You can’t reasonably expect to do both to any substantial degree. This shouldn’t preclude the inclusion of foraged ingredients in ones diet when travelling, but perhaps to supplement ones dehydrated meals. Maybe a dessert of blackberries, or a wild leaves salad starter. Rather than the core of your diet.